A wide sink cabinet can still have very little usable space. The drain takes the middle, a garbage disposal fills one side, and the doors may have a center support that stops a wide organizer from sliding out. The goal is to reach what you use without moving six bottles or bumping a hose—not to fill every inch.
This guide focuses on kitchen under-sink storage, with measurements in inches, renter-friendly options, and a simple way to test an organizer before you buy it. The six new layout illustrations are AI-generated examples, not product tests or plumbing installation diagrams.
Measure the usable space—not the cabinet label
Empty the cabinet, wipe it clean, and let it dry. Look for active drips, damp joints, a swollen base or a recurring musty smell. Resolve moisture problems before covering the floor or returning supplies. A tray can catch a small spill; it cannot repair a leak.
Measure the left and right sides separately. Write the dimensions on your phone and photograph the empty cabinet so you can compare an organizer with the actual obstacles.
| Measurement | What to include |
|---|---|
| Clear opening width | Measure between the door frame, center stile and hinges at the height where the organizer passes through. |
| Usable depth | Measure from the inside of the closed door to the first pipe, hose or obstruction—not automatically to the back wall. |
| Usable height | Check beneath the sink bowl, trap and disposal. Include the tallest bottle plus room to lift it out. |
| Pull-out path | Open the door fully. Check whether a drawer can clear the hinge and extend without hitting the opposite door. |
| Service space | Leave valves, drain connections, disposal controls and filter cartridges accessible. Follow equipment instructions for clearance. |
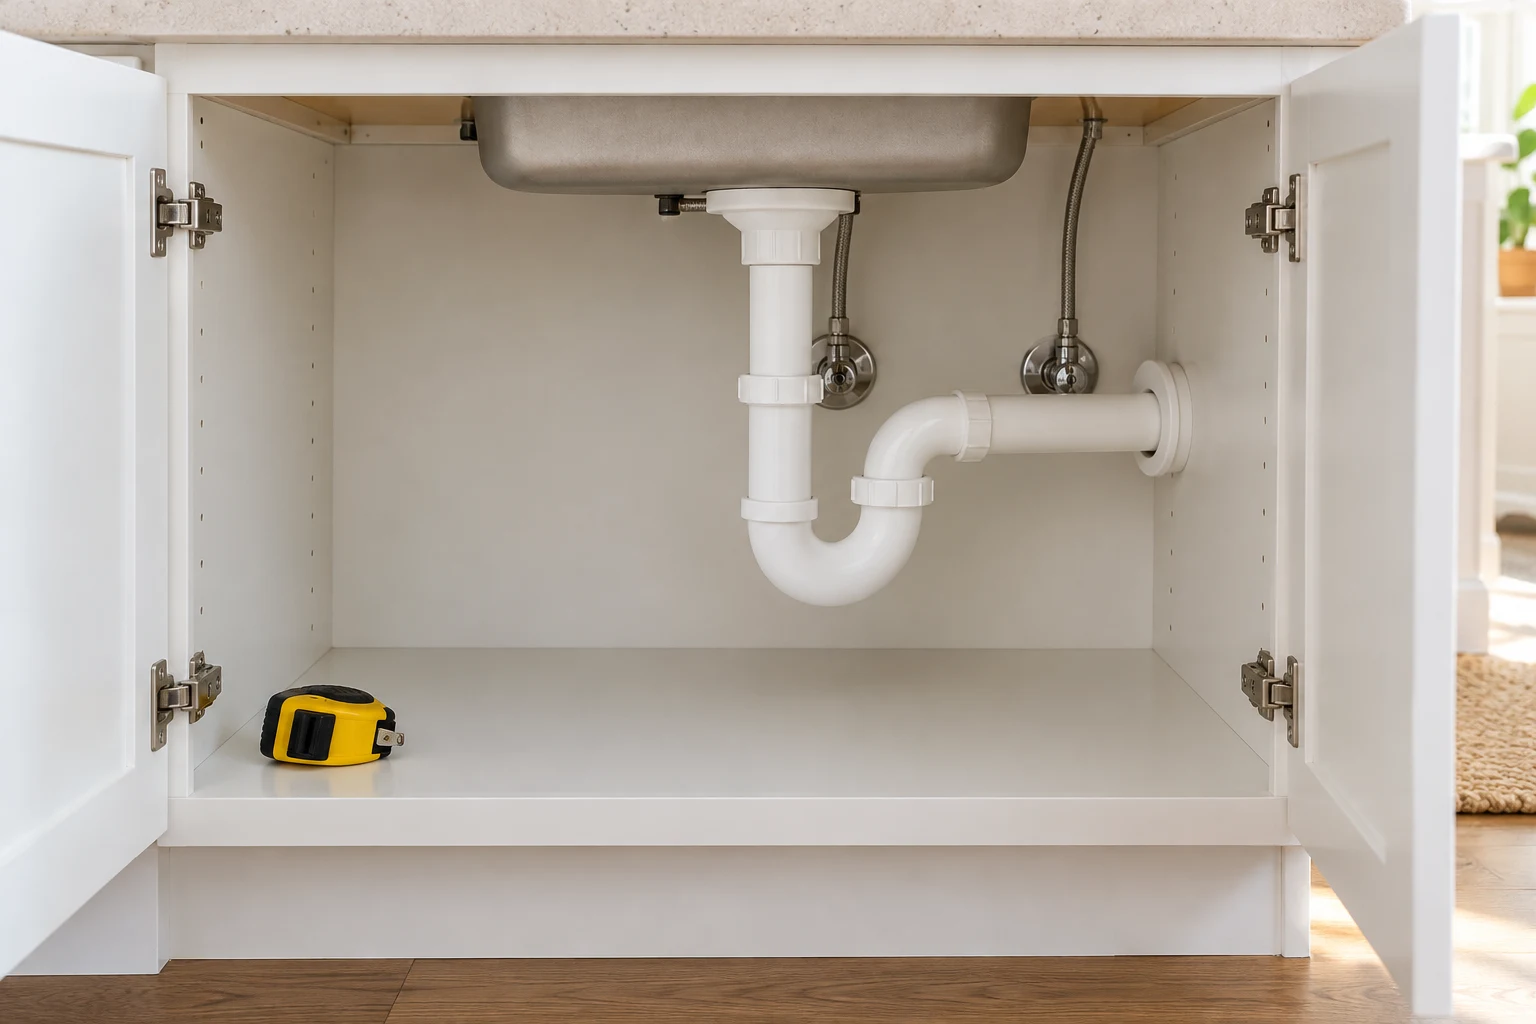
Try a cardboard footprint: if a drawer is advertised as 10 inches wide by 16 inches deep (about 25 by 41 cm), cut a piece of cardboard to that size. Slide it through the opening and into position. Then hold a box of the proposed height over it to check the vertical space. These are example dimensions, not a recommended universal size. Use the organizer’s complete outside dimensions, including rails, handles and mounting brackets.
Which under-sink organizer fits your cabinet?
| Your main obstacle | Start with | Check before buying |
|---|---|---|
| Low or central drainpipe | Two narrow, low removable bins | Can each bin lift out without touching the trap? |
| Deep open space on one side | A narrow pull-out basket | Door clearance, rail width, mounting method and loaded weight rating |
| Disposal or filter system | A low caddy on the opposite side | Room to reach controls and service the equipment |
| Unusable rear corner | A small rimmed turntable | Clearance for the bottles during a full rotation |
| Rental or uncertain layout | Freestanding bins and a removable tray | No drilling, safe removal and a floor that stays easy to inspect |
7 under-sink storage ideas that are easy to maintain
1. Split supplies into two removable bins
Use one bin for daily tools and another for spare sponges, trash bags or dry cleaning cloths. Low sides make it easier to see what is inside; handles let you remove everything at once. Keep the center clear rather than trying to wrap one large basket around the drain.
Choose wipeable containers that fit the items you already own. Do not buy a matching set until you have tested one bin. A container that technically fits but cannot be removed is not useful storage.
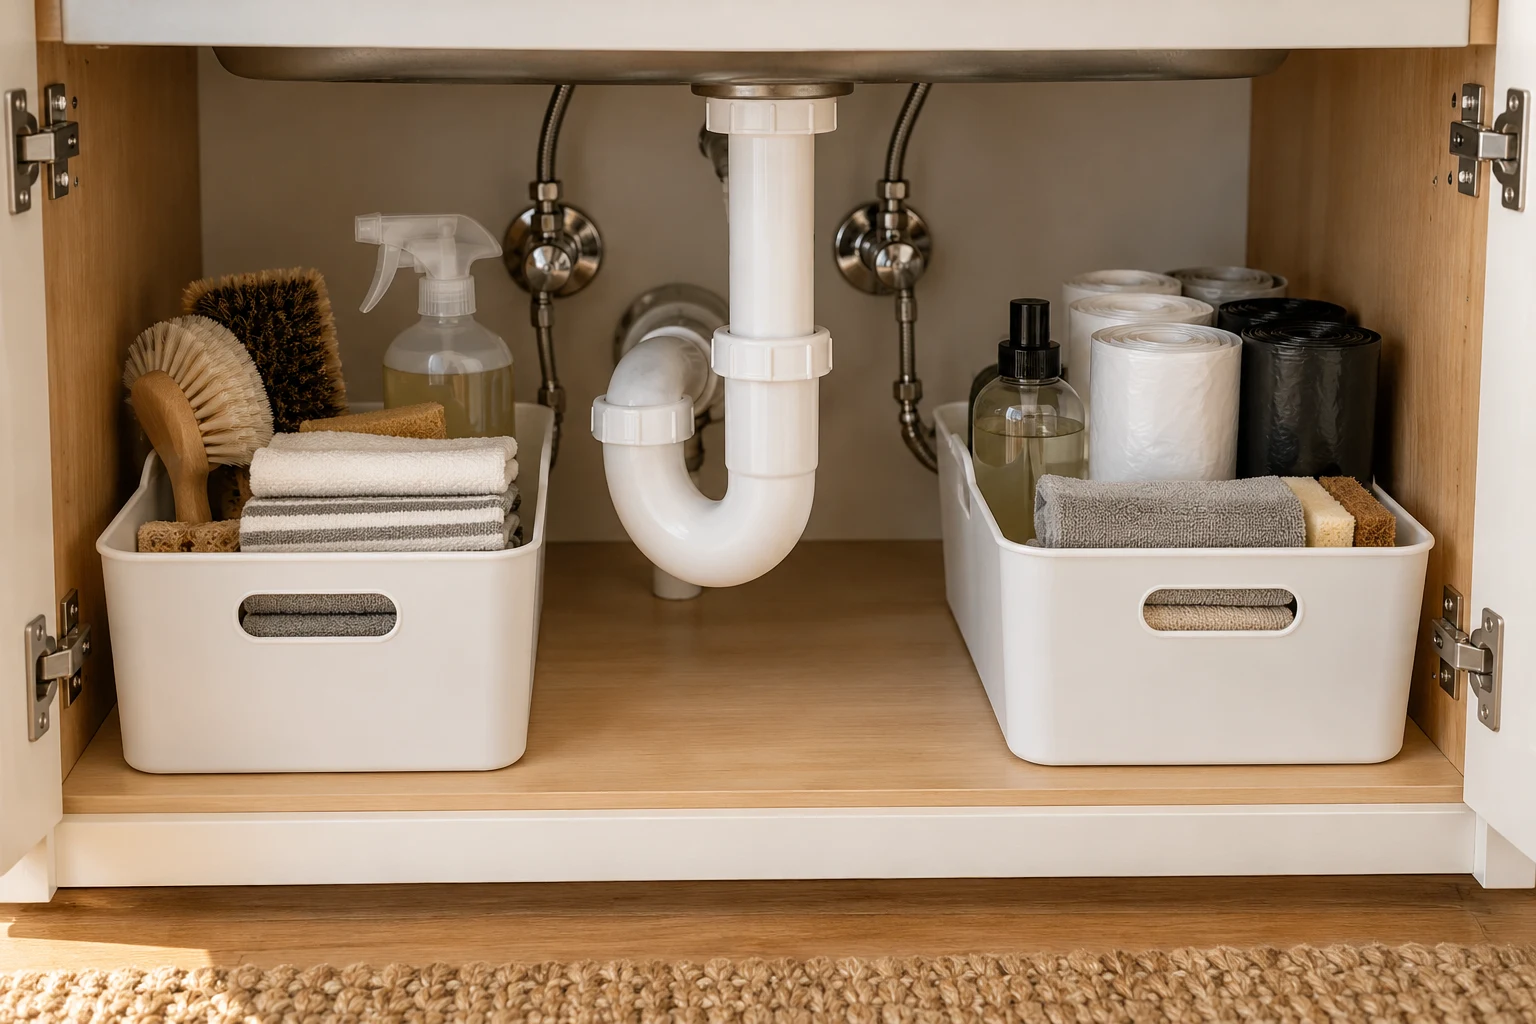
2. Add one pull-out drawer on the clear side
A pull-out is useful when you routinely lose supplies at the back. Start with one rather than installing a full-width system. A center stile or protruding hinge may make two narrow drawers more workable than one wide drawer.

Check the manufacturer’s mounting instructions, load rating and required clearances. Do not drill into a cabinet base or side without checking what is behind it. In a rental, get permission for permanent mounting or choose a lift-out bin. Keep heavy bottles low and avoid loading a tall freestanding rack so heavily that it tips when pulled.
3. Put light, dry items on the door
A shallow door basket can hold dry replacement sponges, gloves or a small trash-bag roll. Test it with the door almost closed before loading it: the basket must miss the frame, hinges, shelves and pipes. Over-door hooks also need room above the door without rubbing the countertop or preventing closure.
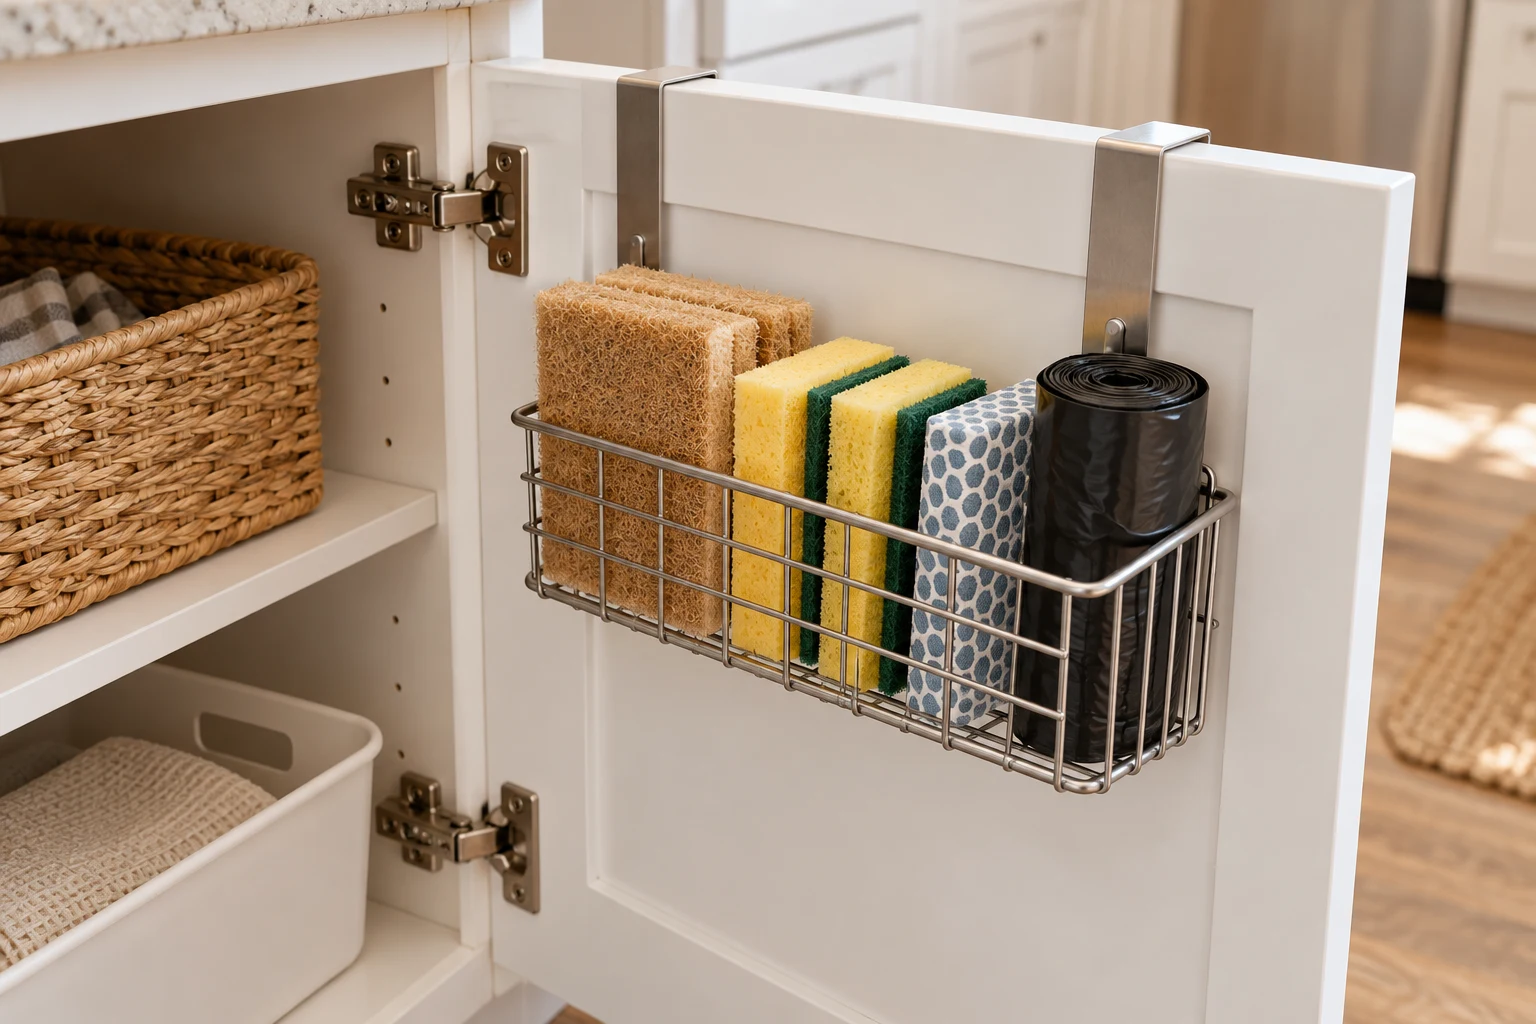
Follow the basket or adhesive manufacturer’s weight limit and surface requirements. A damp, peeling or textured surface may not hold an adhesive hook reliably. Avoid hanging heavy refill bottles from cabinet doors or an improvised rod.
4. Use a raised-edge tray you can remove
A washable tray makes a small bottle spill easier to clean up and can protect the cabinet base from minor drips. Select one that fits without covering equipment openings or forcing a pipe sideways. If the plumbing comes through the floor, choose a design intended for that arrangement rather than cutting an improvised opening that defeats containment.
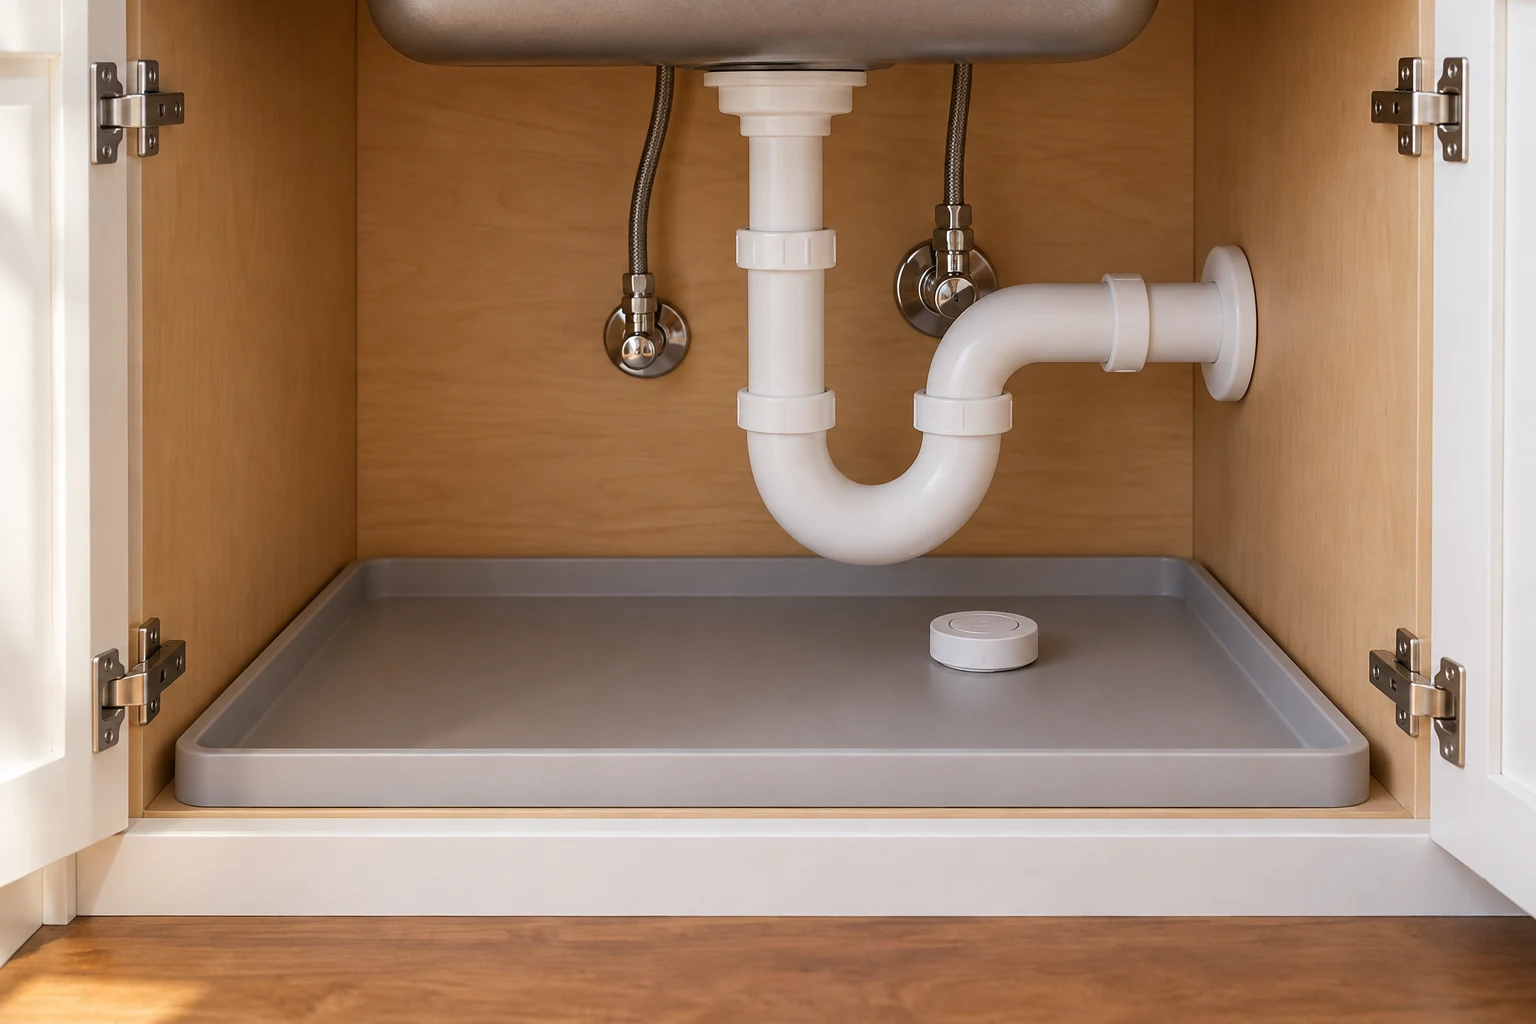
Lift the tray periodically to check that moisture is not trapped underneath. A battery-powered leak alarm may help alert you to water at its sensor; place and test it according to its instructions. Do not hide a known leak under a liner, and do not store electrical appliances beneath the drain.
5. Make a small everyday caddy
Put your frequently used cleaning tools in a handled caddy that you can lift out with one hand. Include only the supplies for the job you actually do at the sink. Keep overflow elsewhere so the caddy stays light enough to carry.
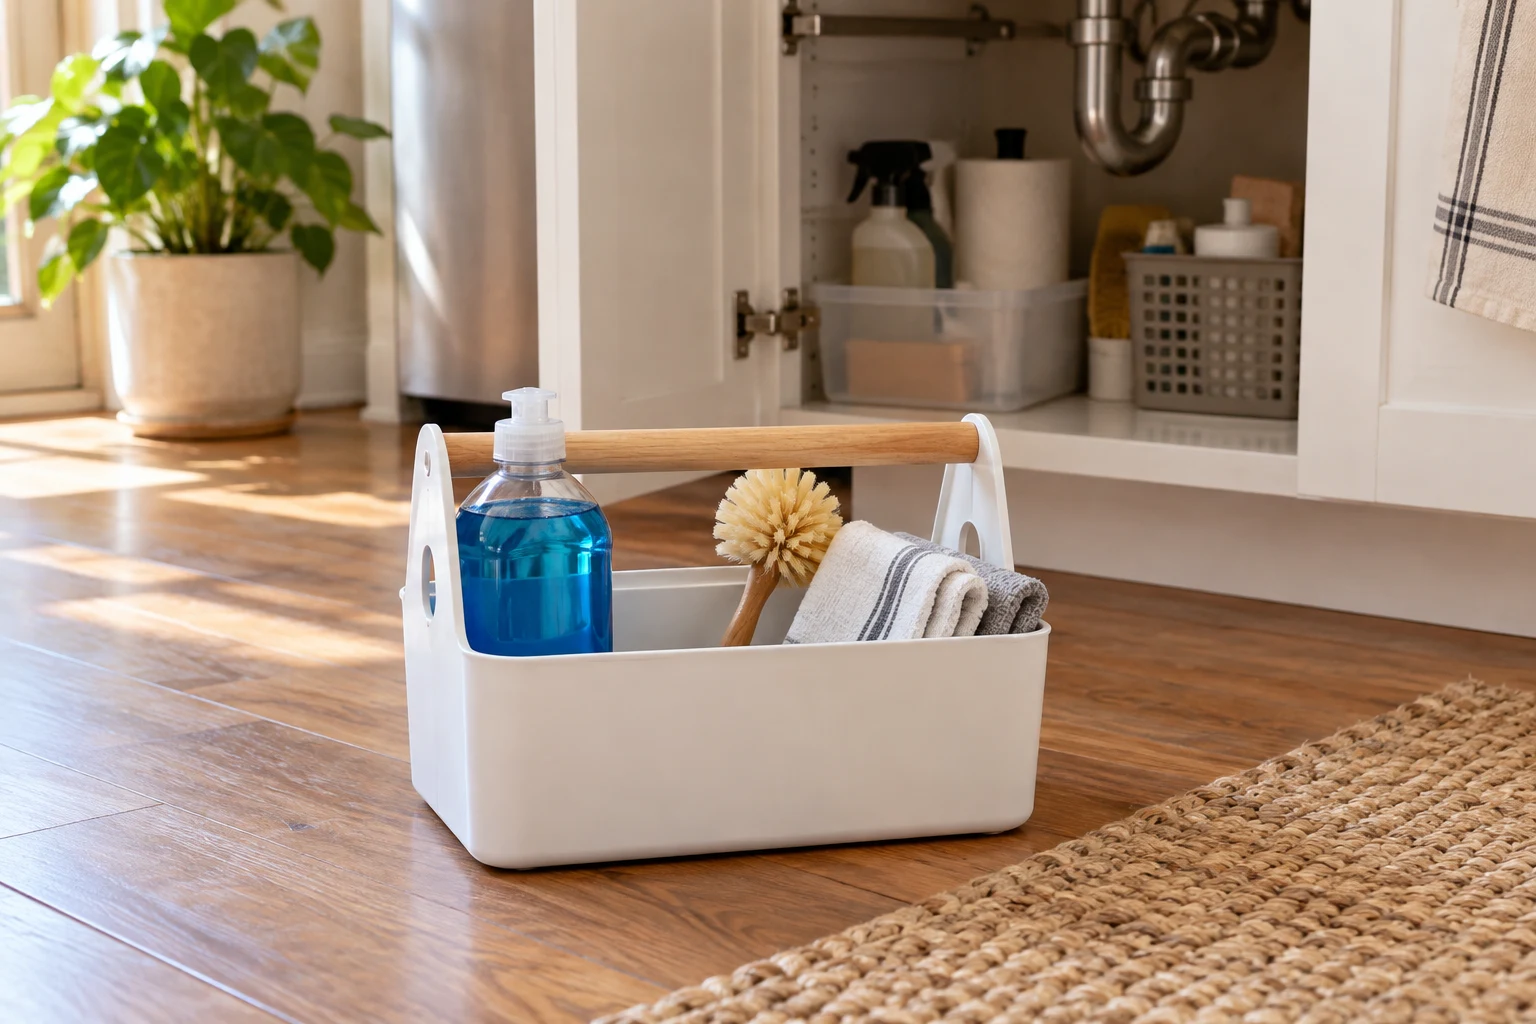
Let wet brushes, sponges and cloths dry in an appropriate ventilated spot before returning them to a closed cabinet. A caddy should not become a sealed collection of damp cleaning tools.
6. Try a turntable for a genuinely open corner
A low turntable can bring a bottle forward without unloading the shelf. It works only where the whole rotation stays clear of plumbing. Check the tallest bottle at the back as well as the empty tray’s diameter: a spray trigger can catch a pipe even when the base fits.
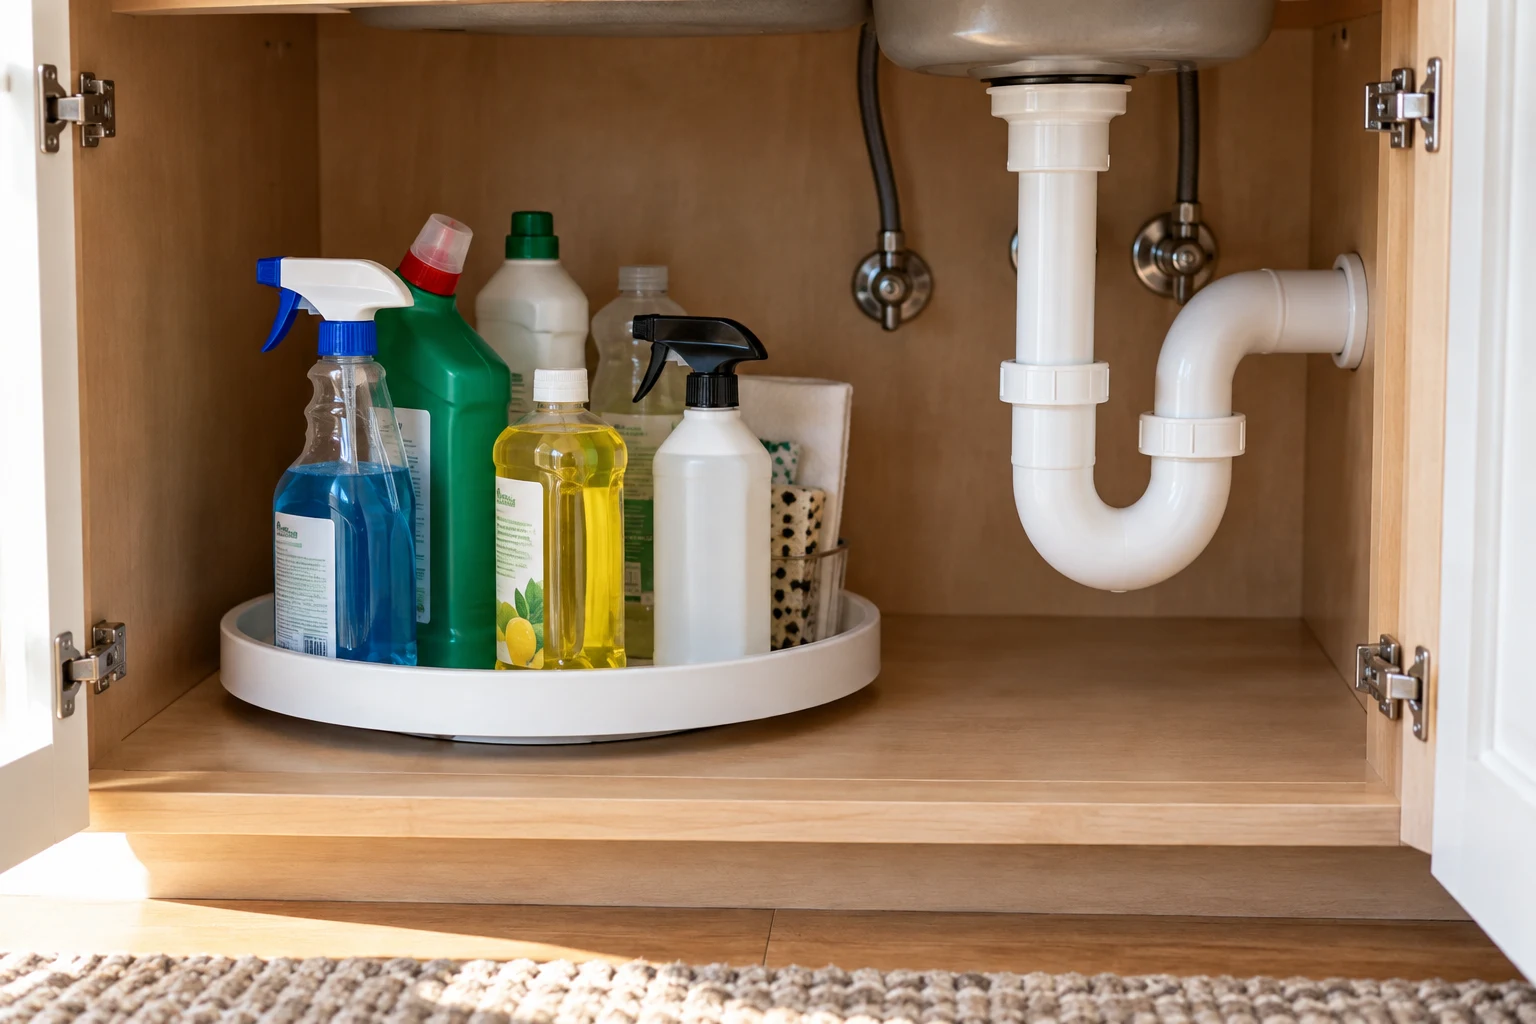
Choose a raised rim to reduce sliding and leave enough room to lift bottles straight up. In a narrow rectangular gap, a rectangular bin often uses space better. A turntable is an access tool, not an automatic capacity upgrade.
7. Keep a service lane and limit backups
Before calling the layout finished, reach the water shutoffs without removing a fixed organizer. Make sure a bin can be pulled away from the trap and that a filter can be serviced as its instructions require. Nothing should hang from a drainpipe, supply hose or disposal.
Keep one working bottle of each needed product rather than several half-used duplicates. Store suitable backup products in a separate secure location according to their labels. Label bins by task—“daily tools” or “spare sponges”—instead of relabeling the chemical containers themselves.
What should not be stored under the kitchen sink?
For this layout, keep food, pet food, paper goods, clean cookware, medicines and electrical appliances elsewhere. It is a plumbing cabinet with the potential for moisture and cleaner spills, not spare pantry space. Move large bulk packs to a dry storage area so they do not conceal leaks or crowd the drain.
Cleaning products need more than attractive bins. The EPA’s household hazardous waste guidance says to follow product labels, retain original containers and labels, and never mix leftover hazardous household products. Do not pour unwanted cleaners down the drain simply to empty the cabinet; check the label and your local waste agency’s collection guidance.
The U.S. Consumer Product Safety Commission advises keeping household cleaners locked up and out of children’s reach. An ordinary low sink cabinet may not be the right location for them. Where children visit or live, store hazardous supplies in suitable secured storage out of reach, and use the sink cabinet for nonhazardous tools instead. Keep products inaccessible to pets as well.
A simple reset before you buy anything
- Empty and inspect the cabinet; address leaks or dampness first.
- Sort out misplaced food, appliances and bulk supplies.
- Measure around the plumbing and test a cardboard footprint.
- Try bins you already own for several days.
- Add only the organizer that solves a specific access problem.
- Close both doors, remove each bin, and check access to the valves.
Once a month, pull out the bins, check the cabinet floor and plumbing for moisture, and remove empty packaging. Restock what you use without adding a new category of clutter. For nearby spaces, browse our kitchen storage guides.
Under-sink storage questions
How do you organize under a sink with a garbage disposal?
Start with a low removable bin on the open side. Keep the disposal’s service points, power connection and nearby hoses accessible. Choose storage around the installed equipment rather than moving or disconnecting plumbing to fit an organizer.
Are two-tier organizers worth it?
Only if both tiers remain usable. Measure the space above the lower shelf with your tallest item in place, and check whether the top shelf hits the bowl or hoses. A short upper shelf beside the pipe may work better than two full-width tiers.
Can I organize a rental cabinet without drilling?
Yes. Start with freestanding bins, a lift-out caddy and a removable tray. Door hooks need a fit check, and removable adhesives can still affect finishes; follow the product directions and your lease.
Can I hang spray bottles from a tension rod?
A lightly loaded rod may work where its manufacturer permits that use, but bottle triggers and a friction-fit rod are not a dependable substitute for a rated shelf. A low bin is easier to inspect and less likely to drop heavy bottles onto plumbing.
What is the cheapest useful improvement?
Remove items that do not belong there and group the remaining tools in a washable bin you already own. Buy a pull-out only if reaching the back is still a problem. A clear, accessible cabinet is more valuable than a full set of organizers.
Kitchen conditions and products vary. Follow manufacturer guidance and consult a qualified professional when safety or specialist work is involved.