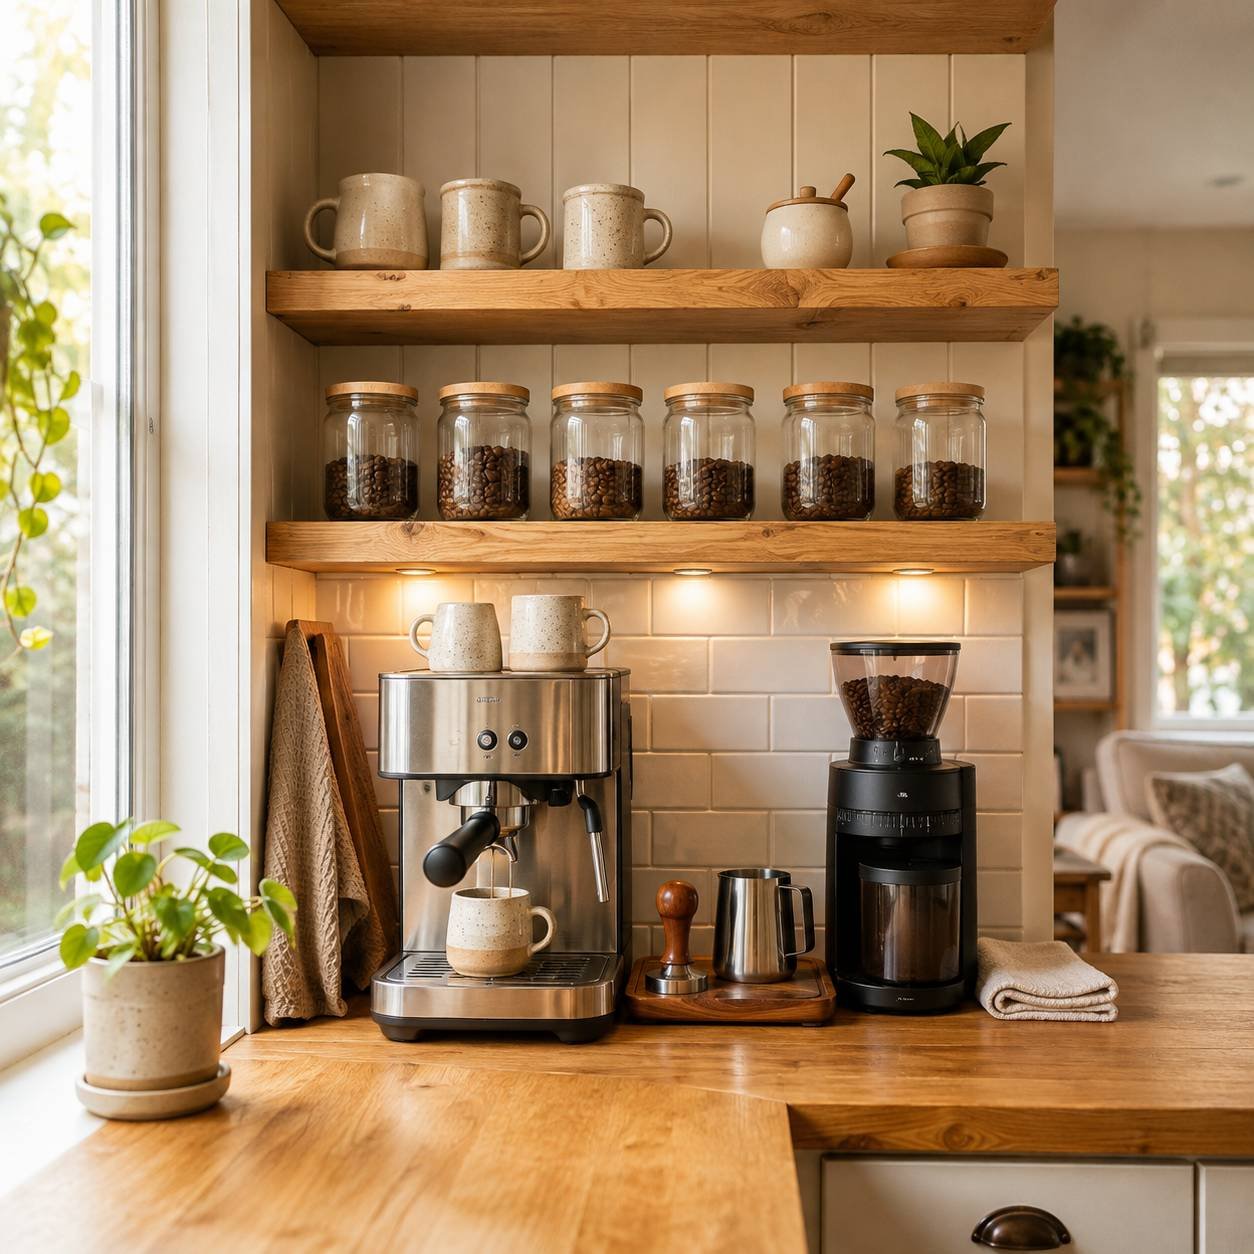
A dedicated coffee bar sounds like a luxury when every inch of counter matters. In reality, the best small kitchen coffee station ideas do not require a remodel, a large cabinet, or a premium espresso setup. They create one compact zone for brewing, mugs, beans, filters, and cleanup—then use trays, drawers, shelves, or wheels to keep that zone from spreading across the kitchen.
This guide offers 27 practical ways to build a home coffee station in 2026, from a $0 countertop reset to a hidden cabinet or rolling cart. You will also find realistic cost ranges, storage rules, safety checks, and before-and-after examples that show what actually changes in a small space.
What makes a coffee station work in a small kitchen?
A coffee station is successful when it shortens the routine without stealing space from food preparation. Before buying organizers, make four measurements:
- Appliance footprint: measure the full width and depth of the coffee maker, grinder, or kettle.
- Working clearance: include room to lift the water reservoir, open the pod lid, remove the carafe, or attach a portafilter.
- Vertical clearance: measure beneath upper cabinets and shelves, especially if steam rises from the machine.
- Walking clearance: a cart or cabinet door should not narrow a busy path or interfere with the refrigerator, dishwasher, or oven.
The outlet matters as much as the surface. The machine should reach a properly installed receptacle without a cord crossing a sink, cooktop, doorway, or walking path. Always follow the appliance maker’s clearance, ventilation, cleaning, and electrical instructions.
How much does a small coffee station cost in 2026?
The following ranges are planning estimates in U.S. dollars as of August 2026. They exclude the coffee maker, grinder, electrical work, delivery, and professional cabinetry. Local and sale prices vary.
| Setup level | Typical cost | What it can include |
|---|---|---|
| Use what you own | $0–$25 | Repurposed tray, jars, small box dividers, mug hooks |
| Countertop refresh | $25–$75 | Washable tray, canisters, drawer organizer, one shelf |
| Mobile station | $40–$175 | Utility cart or secondhand cabinet, baskets, hooks |
| Finished coffee cabinet | $115–$250 | Ready-made cart or cabinet with drawers and shelves |
| Hidden cabinet conversion | $175–$500+ | Pull-out tray, hardware, lighting, ventilation, carpentry |
Current retail examples show why a range is more honest than one promised price: compact utility carts can appear around $40, while finished rolling coffee cabinets commonly reach roughly $115–$220. A secondhand nightstand, microwave cart, or small buffet can cost less if it is stable, cleanable, and deep enough for the appliance.
27 small kitchen coffee station ideas
You do not need all 27. Choose the layout that fits your appliance, outlet, and morning habits, then borrow one or two storage ideas from the other sections.
1. Put the entire routine on one tray
A tray creates a visual boundary and catches grounds, drips, and sugar. Keep only the coffee maker, daily coffee, filters, and one or two mugs inside it. When the counter needs cleaning, the whole station moves in one action. A rimmed, washable tray is more practical than unfinished wood beside a water reservoir.
2. Use the shortest available stretch of counter
Many small machines fit on an 18- to 24-inch stretch of counter. Test the footprint with painter’s tape before committing. Leave the larger uninterrupted area for chopping and mixing rather than placing the station in the center of your best prep zone.
3. Turn the space beside the refrigerator into a coffee zone
The counter beside a refrigerator is often too remote for food preparation but close to an outlet. Use it for the machine and one slim canister, then store mugs in the nearest upper cabinet. Keep enough clearance for the refrigerator door and ventilation.
4. Create a coffee-and-breakfast station
Combine coffee with toast, oatmeal, or breakfast bowls only if the appliances can be used safely without overloading the counter or outlet. Store breakfast ingredients in the cabinet above and utensils in the drawer below. This gives an otherwise awkward counter section one clear purpose.
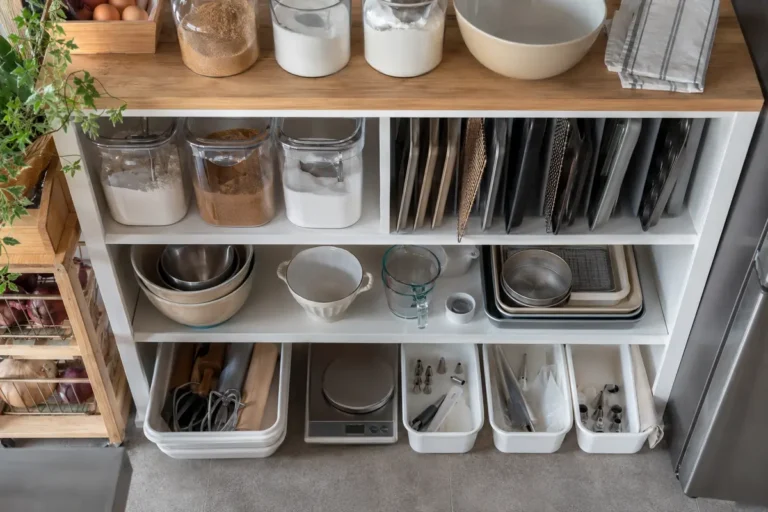
5. Place supplies in a shallow drawer below
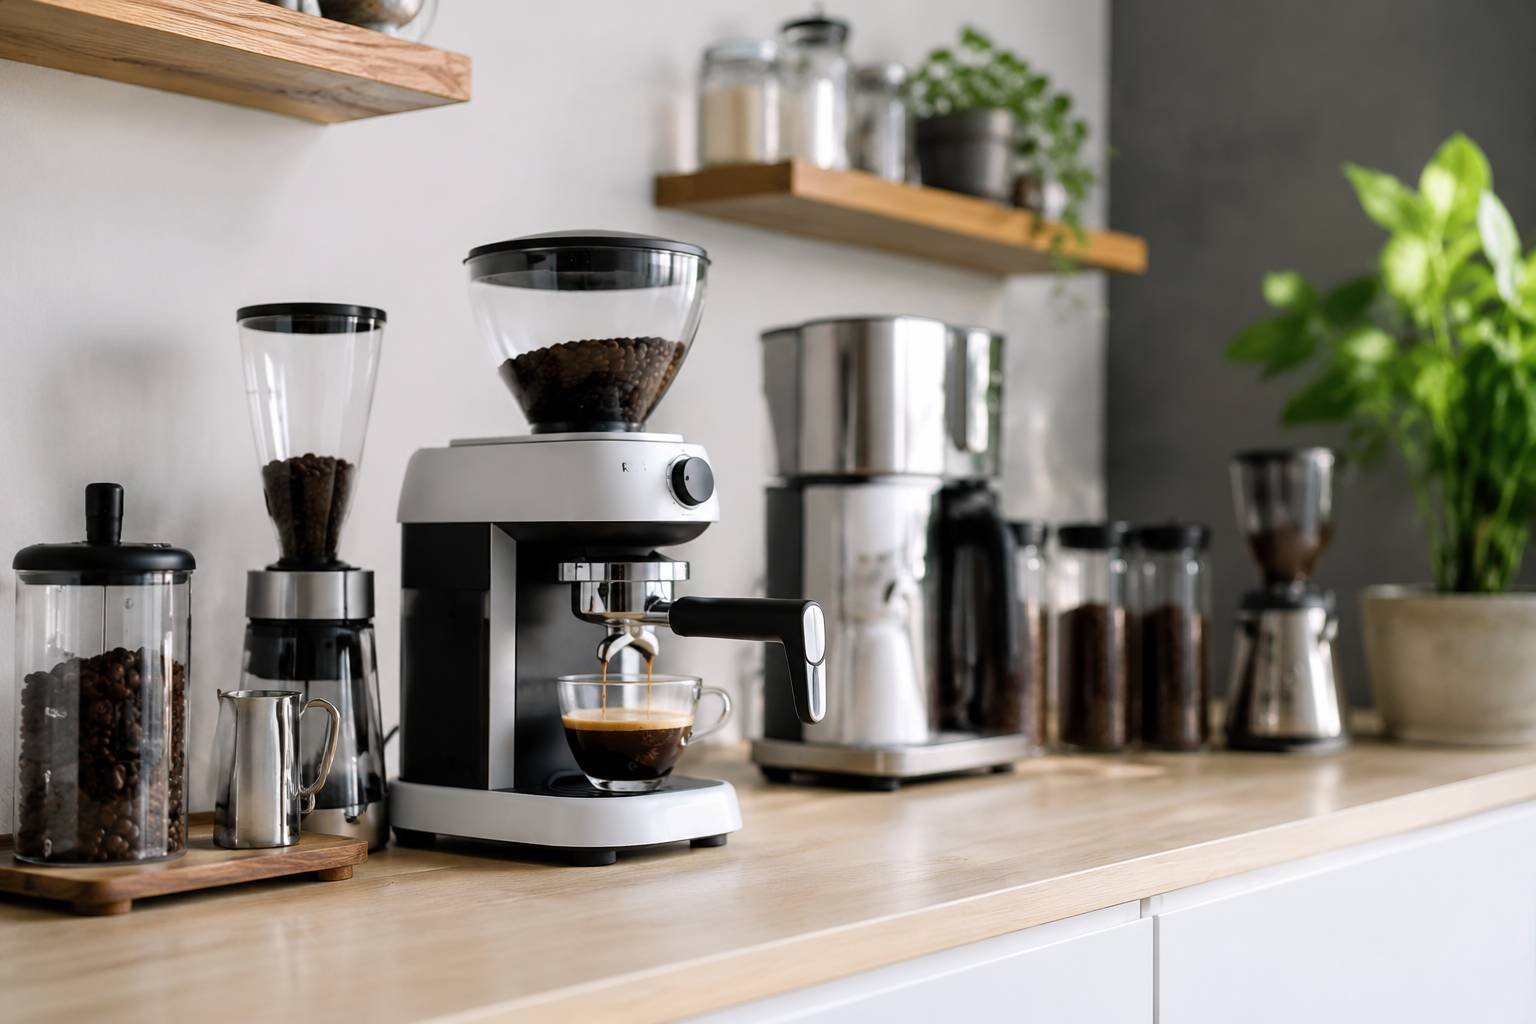
Filters, pods, tea bags, measuring spoons, and spare stirrers do not need to remain on display. Divide a shallow drawer into daily categories and place refills behind them. This approach works especially well when the countertop itself can hold only the machine. Use the same one-purpose principle described in our kitchen drawer organization guide.
6. Store beans in one airtight canister
One appropriately sized opaque or dark canister is easier to manage than several decorative jars. Keep a small amount accessible and store sealed refills away from heat, sunlight, and moisture. Label the container with a removable date tag rather than transferring old and new beans into the same jar without cleaning it.
7. Use a compact single-serve setup
If one person drinks one style of coffee, a small single-serve machine, pod drawer, and two mugs may be enough. Avoid buying large rotating pod towers that consume more counter space than the brewer. A flat drawer or narrow bin usually stores more in a smaller footprint.
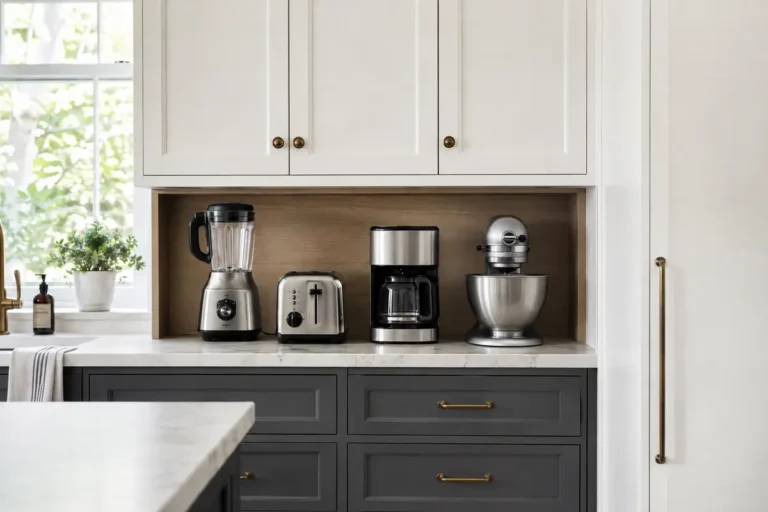
8. Convert an appliance garage into a hidden coffee cabinet
A cabinet with a lift-up, pocket, or bifold door can hide the machine between uses. The interior still needs a safe outlet, adequate clearance, a heat- and moisture-tolerant surface, and room to operate with the doors fully open. Do not assume a closed cabinet is safe while the machine is brewing; follow the manufacturer’s instructions.
9. Add a pull-out tray inside the cabinet
A full-extension tray lets you pull a coffee maker forward before filling or brewing. Choose hardware rated for more than the combined weight of the machine, water, carafe, and accessories. The tray must lock or remain stable during use, and the cord should move without pinching.
10. Use a pocket-door coffee nook
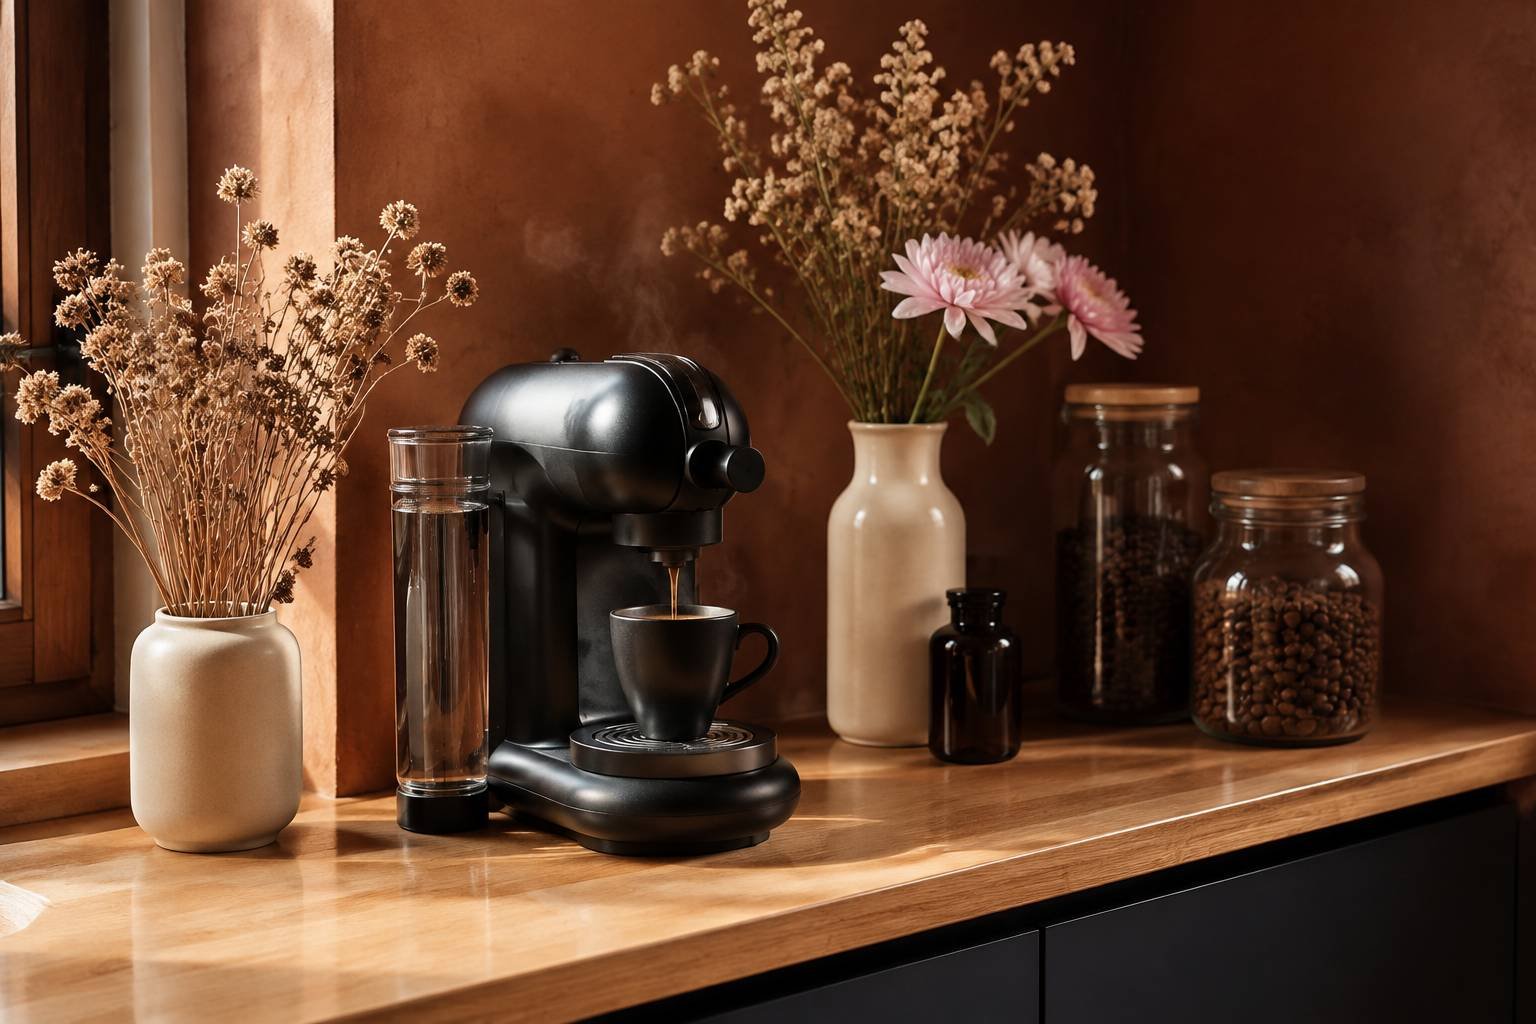
Pocket doors slide out of the way instead of projecting into a narrow aisle. This is a higher-cost idea, but it is useful during a future cabinet renovation because the station can remain open through breakfast and disappear afterward.
11. Dedicate one upper cabinet to mugs and refills
Place lightweight mugs, paper filters, and sealed coffee above the machine. Keep heavy appliances and large containers on the counter or in a lower cabinet. A small shelf riser can double mug capacity without stacking unstable towers.
12. Add one floating shelf, not three
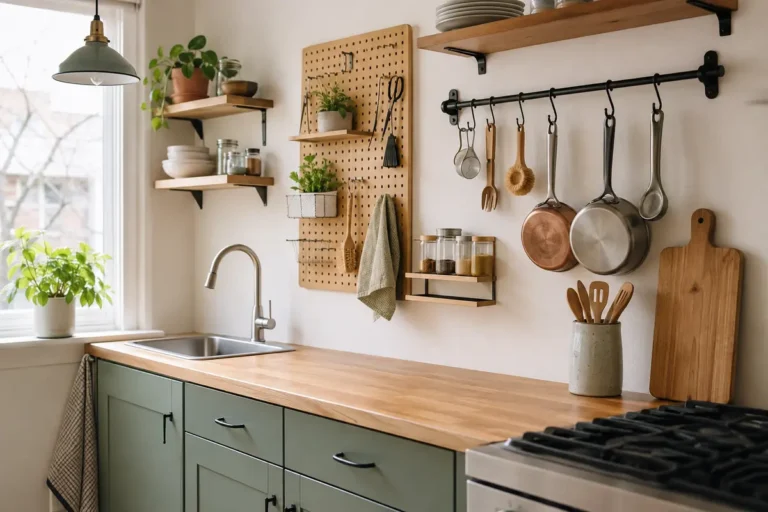
A single shelf often provides enough room for mugs and a bean canister while keeping the wall visually calm. Confirm the wall construction, use suitable anchors, respect the shelf’s load rating, and keep the coffee maker on the counter. More shelves are not automatically more useful.
13. Hang the lightest mugs beneath a shelf
A short rail or well-secured hooks can free cabinet space. Check the hook and shelf ratings, avoid overcrowding, and hang mugs where heads, doors, and appliance lids will not strike them. Place frequently used cups closest to the front.

14. Use a narrow wall rail for small tools
Hang a scoop, small cleaning brush, or lightweight basket from a rail beside the station. Keep the layout restrained; a rail packed with accessories becomes visual clutter. If drilling is not allowed, choose removable storage rated for the surface and load.
15. Build a coffee cart on lockable wheels
A cart is useful when the station must move for guests or food preparation. Choose a top wide enough for the machine, casters that lock, and shelves that can support the load. Park it near an outlet during use and unplug before moving it. Never roll a full hot carafe through the kitchen.
16. Repurpose a secondhand microwave cart
Microwave carts are often deeper and sturdier than decorative bar carts. Clean the surface, confirm stability, and add a tray or removable liner. Paint is optional; safe dimensions and sound hardware matter more than a perfect finish.
17. Turn a small nightstand into a coffee cabinet
A solid nightstand can work outside the main kitchen run if its top is water-resistant and large enough for the appliance. Use the drawer for filters and the lower shelf for sealed refills. Avoid unstable furniture, absorbent surfaces, and anything too low for comfortable pouring.
18. Use an unused corner without blocking the aisle
A corner beside a doorway, pantry, or dining nook can become a coffee station with a 24- to 30-inch cabinet. Tape the footprint on the floor and open every nearby door before buying. The after-layout should improve circulation, not create a new obstacle.

19. Borrow space from the dining area
A slim console near the kitchen can hold the coffee routine without taking prep space. Store only sealed ingredients there and protect the surface from water and heat. This layout works especially well when morning coffee is served at the table.
20. Create a portable coffee caddy
If no permanent surface is available, place filters, coffee, scoop, and sugar in a handled caddy. Store the caddy in a cabinet and bring it beside the machine when needed. The appliance can remain in an accessible cabinet and move to the counter for use if the manual permits it.
21. Use matching containers only for practical reasons
Matching jars can reduce visual noise, but they should be airtight, washable, and easy to identify. Do not decant products merely for appearance. Preserve preparation directions, allergen information, and best-by dates, or keep the original packaging with the refill.
22. Separate daily supplies from refills
Keep a one- or two-week supply at the station and place bulk refills in the pantry. This prevents an open shelf from becoming a store display. Our pantry organization guide explains how backstock zones reduce duplicates and forgotten packages.
23. Use labeled baskets for backup supplies
One basket for coffee and one for cleaning supplies are usually enough. Place the most frequently replaced item at the front. Labels should describe the category, not every object, so the system remains useful when brands or brewing methods change.
24. Add a drawer liner that can be removed
A washable liner catches grounds and minor drips in a drawer or cabinet. Cut it to fit without curling at the edges. Remove and dry it during cleaning rather than trapping moisture beneath it.
25. Store tea beside coffee only when both are used
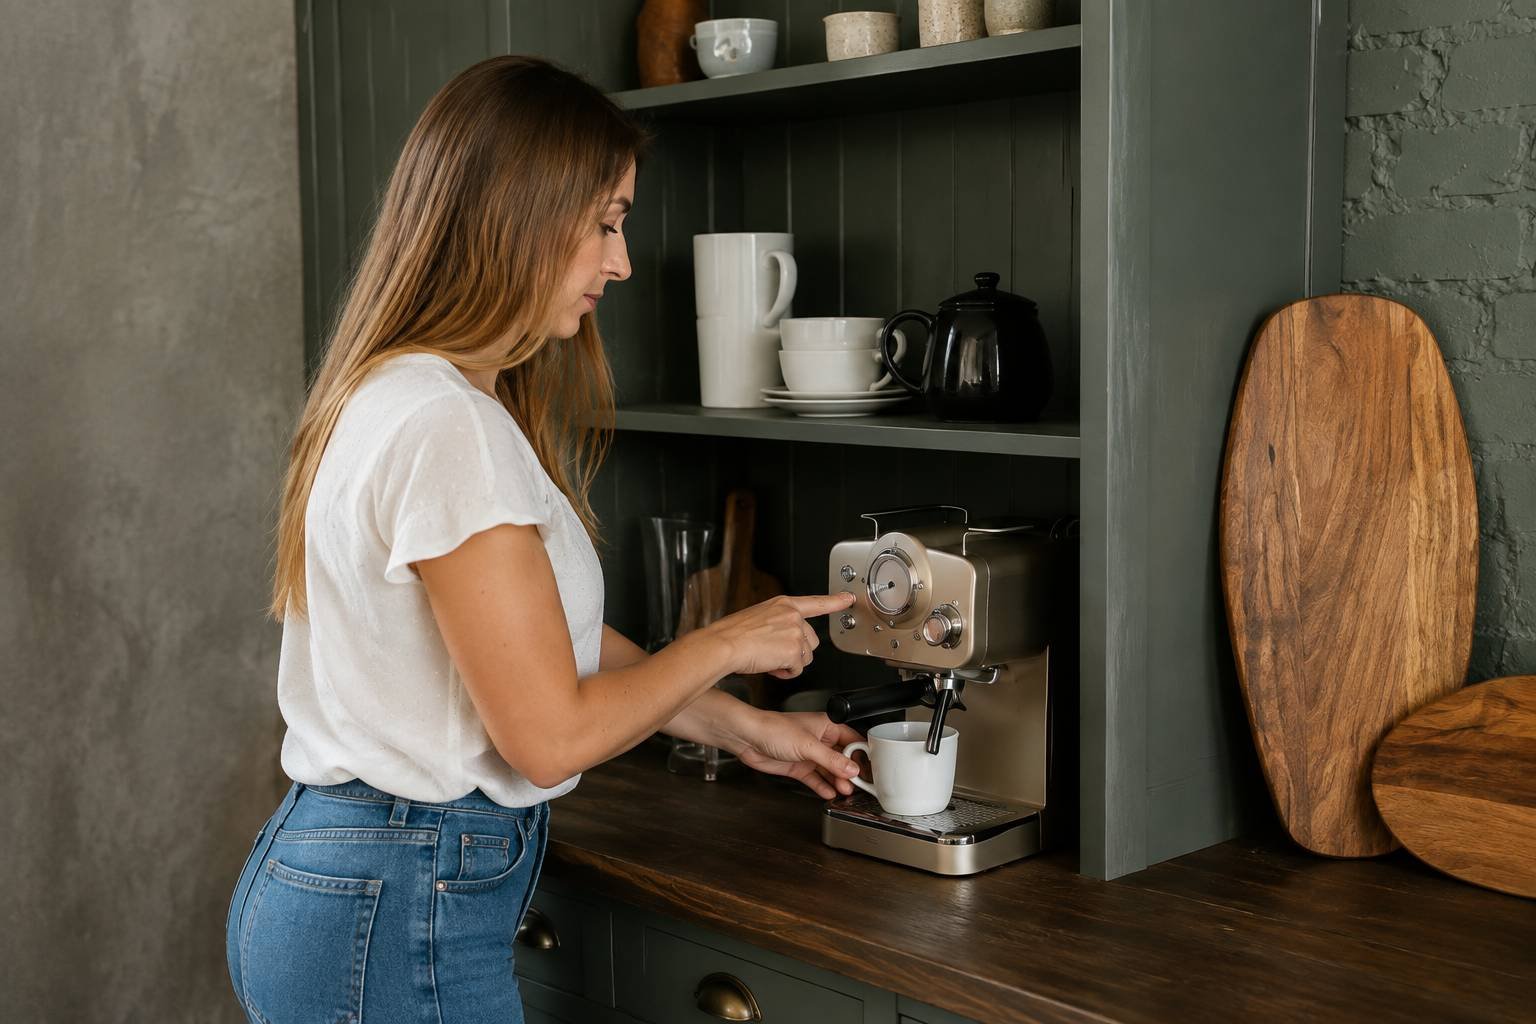
A combined tea-and-coffee station can save space for a household that drinks both. Divide the drawer or basket into clear categories. If tea is occasional, store it in the pantry instead of giving half the daily station to rarely used boxes.
26. Give cleaning tools a hidden home
Keep a small brush, clean cloth, and manufacturer-approved descaling supplies in a child-safe cabinet or labeled bin. Do not store chemicals beside open coffee, sugar, or mugs. A station stays attractive when cleanup takes less than a minute.
27. Leave one empty hand-width of workspace
The most overlooked coffee-station feature is empty space. Reserve room to set down a mug, refill water, weigh beans, or wipe a spill. If the tray, decor, and containers consume the entire surface, remove something rather than buying another organizer.
Three realistic coffee-station before-and-after examples
Example 1: cluttered 30-inch counter to $35 tray station
Before: the coffee maker, four mugs, two bags of coffee, sugar, filters, and mail share the counter. After: the machine, one coffee canister, filters, and two mugs sit on a $20–$25 tray; duplicates move to the pantry; mail leaves the kitchen. A $10 drawer divider holds the scoop and tea bags. The transformation comes mainly from editing, not buying.
Example 2: empty wall to $90 vertical coffee corner
Before: an unused section of wall sits beside a small base cabinet. After: a properly anchored $30–$45 shelf holds light mugs and filters, a $15 rail holds two cups, and a tray organizes the machine below. The station gains storage without widening its footprint.
Example 3: overflowing cabinet to $160 mobile coffee cart
Before: the coffee maker is moved in and out of a deep cabinet every morning, while pods and mugs occupy three different locations. After: a stable cart with lockable wheels holds the machine, daily supplies, mugs, and refills. The cabinet returns to food storage, and the cart can move only after the appliance is cool and unplugged.

How to build your coffee station step by step
- Photograph the current area. A picture makes duplicate mugs, scattered packages, and wasted vertical space easier to see.
- Choose one brewing method. Keep the daily machine accessible and move occasional equipment elsewhere.
- Measure the appliance and its working clearances. Include lids, reservoirs, carafes, handles, and steam.
- Assign the nearest storage. Daily supplies go beside, above, or directly below the machine; refills go in the pantry.
- Test with items you own. Use a tray, box, or painter’s tape for a week before buying permanent organizers.
- Add one improvement at a time. A drawer divider, shelf, or cart should solve a measured problem.
- Take the after photo. If the station still looks crowded, remove decor or excess supplies before adding more storage.
If you want to preview a larger layout change, Kitchen Epic’s AI kitchen design tool can help you compare ideas from a kitchen photo before moving furniture or adding cabinetry.
Safety checks for a hidden or mobile coffee bar
- Use the coffee maker on a stable, level, heat- and moisture-resistant surface.
- Follow the manufacturer’s required clearance and ventilation instructions.
- Open hidden cabinet doors and pull the appliance forward when the manual requires it.
- Keep cords away from sinks, cooktops, sharp edges, children, and walkways.
- Do not overload an outlet, extension cord, or power strip. The U.S. Consumer Product Safety Commission advises matching cords to appliance loads, inserting plugs fully, and preventing cords from dangling from counters.
- Unplug and cool an appliance before moving a cart or cleaning the station.
- Have a qualified electrician add or relocate a receptacle when the current outlet cannot safely serve the planned station.
Keep the coffee station attractive after the first week
Wipe the tray and counter daily, return supplies after brewing, and empty the drip tray as directed. Once a week, wash canisters and organizers as appropriate, discard stale packaging, and move mugs that were never used. Follow the coffee maker’s cleaning and descaling schedule rather than relying on appearance alone.
Use a simple restocking rule: open one, store one. When the daily canister is low, bring one sealed refill forward and add coffee to the shopping list. Avoid turning sale purchases into permanent counter clutter.
Frequently asked questions
Where should a coffee station go in a small kitchen?
Choose a stable surface near a suitable outlet that does not interrupt the main prep zone or block appliance doors and walkways. A short counter beside the refrigerator, an unused corner, a dining-area console, or a lockable cart can work.
How much counter space does a coffee station need?
It depends on the machine. Measure its full footprint plus the clearance needed to fill the reservoir, open the lid, remove the carafe, and set down a mug. Some compact stations fit within 18–24 inches of counter width.
How can I make a coffee bar for under $50?
Use your current coffee maker, repurpose a washable tray, limit the station to daily supplies, reuse airtight containers, and add one drawer divider or small shelf only if needed. Secondhand hooks and organizers can keep the total below $50.
Can a coffee maker be used inside a cabinet?
Only when the appliance manufacturer permits the setup and the cabinet provides the required clearance, ventilation, stable surface, and safe power. Many hidden stations are opened and pulled forward before brewing; never assume closed-door operation is safe.
What should be stored at a coffee station?
Keep the coffee maker, one daily coffee container, required filters or pods, a scoop, and one or two mugs nearby. Store bulk refills, occasional syrups, guest mugs, and rarely used brewers elsewhere.
How do I stop a coffee station from looking cluttered?
Limit the visible surface to one machine, one tray, and the supplies used every day. Move refills into a drawer or pantry, use vertical storage for lightweight items, and leave a clear area for filling and cleanup.
Sources and price note
Prices were checked in August 2026 and can change. Examples reviewed included a compact utility cart reported at $39.99, a butcher-block kitchen cart around $140, finished coffee carts and cabinets around $115–$220, and current U.S. Consumer Product Safety Commission guidance for cords and power strips. Always verify dimensions, load ratings, current price, and the coffee maker’s instructions before buying or modifying storage.
- Good Housekeeping: compact utility cart pricing and features
- Good Housekeeping: small-kitchen rolling cart example
- Wayfair: finished rolling coffee cart example
- U.S. CPSC: extension cord and power-strip safety
Kitchen conditions and products vary. Follow manufacturer guidance and consult a qualified professional when safety or specialist work is involved.