If taking out one frying pan means lifting three others and catching a falling lid, your cookware needs a better layout. You do not need matching pans or a new kitchen. Start by giving everyday pieces an easy-to-reach home, then choose storage around their size, weight, and handles.
This guide shows how to organize pots and pans in cabinets, deep drawers, and small kitchens, with practical ways to keep lids visible and protect cooking surfaces.
Choose the right storage for your kitchen
Start with the problem you want to solve. A divider helps when pans are buried in a pile; a pull-out helps when they disappear at the back. They solve different problems, so one organizer does not suit every cabinet.
| Your space or problem | Start with | Check before committing |
|---|---|---|
| Deep base cabinet; cookware is hard to reach | A properly installed pull-out shelf | Door opening, hinge clearance, installation space, and loaded weight |
| Wide, deep drawer | Pots side by side, with a separate lid section | Drawer load rating and clearance above handles and lid knobs |
| Several frying pans in a narrow cabinet | A stable vertical pan rack or individual horizontal slots | Pan diameter, handle direction, and support for each pan |
| Lids slide into a heap | A freestanding lid divider | Slot spacing for domed lids and large knobs |
| Very little storage and no installation budget | A smaller everyday collection and short protected stacks | Whether you can remove one item without unbalancing the rest |
| Unused wall space | A cookware-rated rail for suitable lighter pans | Mounting surface, fasteners, total load, and safe clearance |
1. Sort your cookware before buying anything
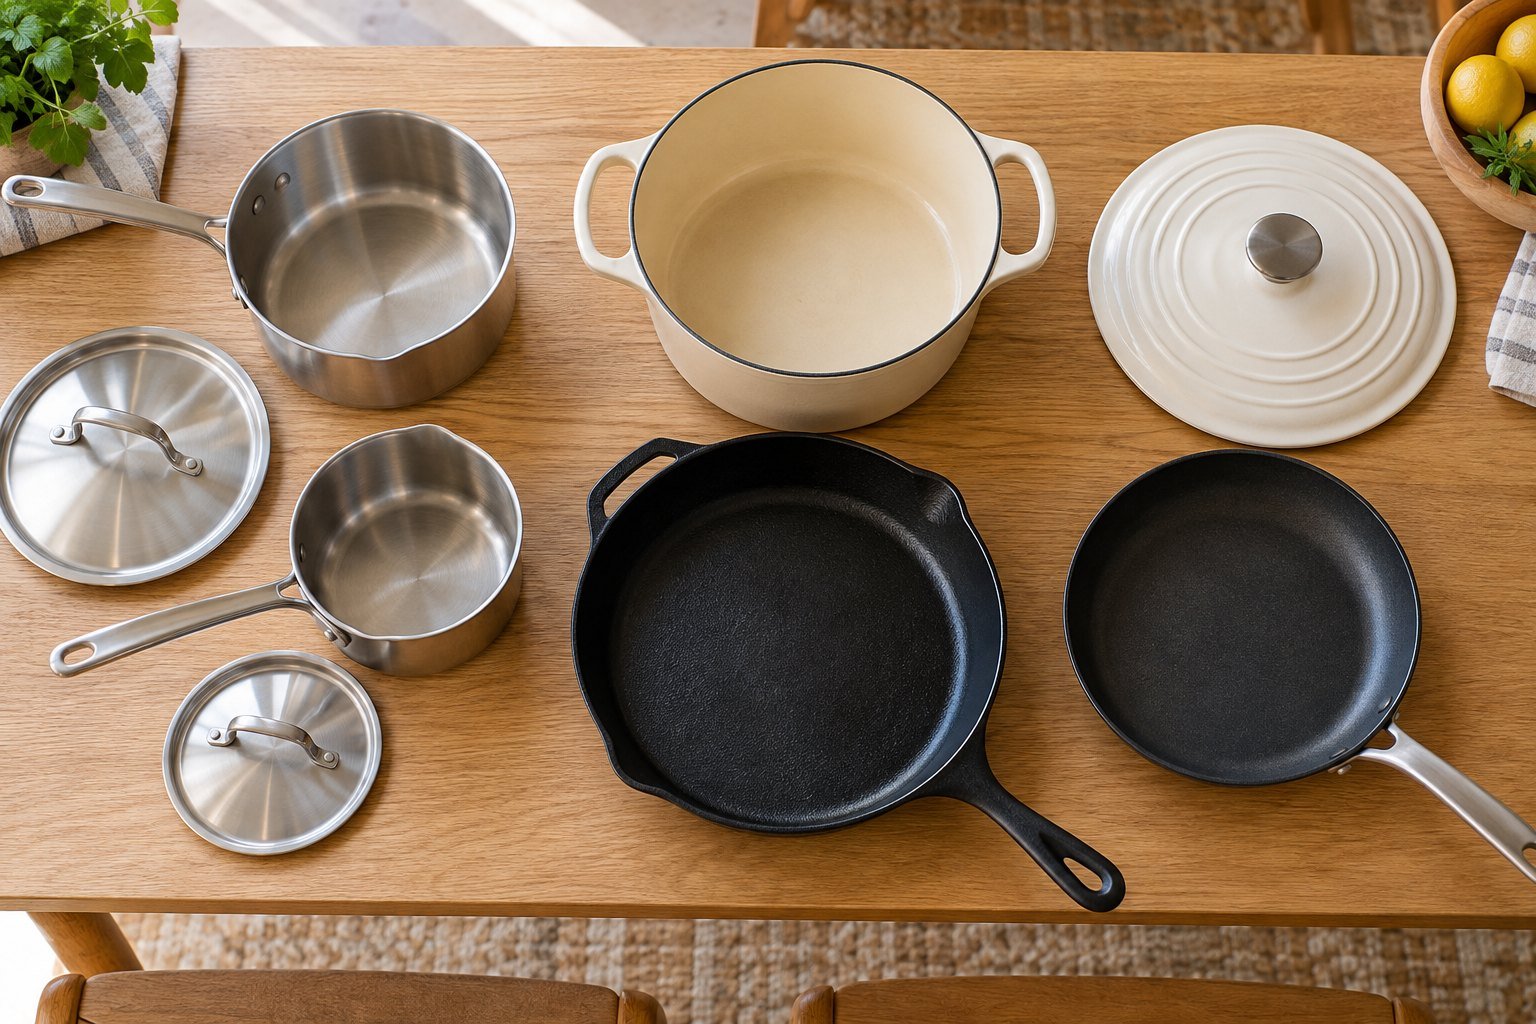
Empty one cookware cabinet or drawer onto a clear, protected surface. Match each pot to its lid and group pieces into three categories:
- Everyday: the saucepan, skillet, or pot you reach for most often.
- Occasional: the roasting pan, large stockpot, or extra skillet used for particular meals.
- Ready to leave: unwanted duplicates, lids without matching cookware, or pieces whose condition needs review.
Keep useful occasional cookware; this is not a contest to own the fewest pans. Move it out of the prime everyday space. Donate only usable pieces that a recipient accepts, and check local disposal or recycling options for damaged cookware.
Measure the usable space, not just the cabinet
Write down the internal width, depth, and height. Then measure the door opening, hinges, center stile, and any shelf supports that reduce access. For drawers, include the space above the drawer box: a pot may fit inside yet catch on the cabinet when you close it.
Measure cookware at its widest point, including handles and lid knobs. A pan described as 12 inches usually needs more than 12 inches of storage depth once its handle is included. Leave enough room to grip and lift it without scraping the adjacent item.
Try the layout first: arrange the cookware in the empty space before ordering accessories. If a proposed rack takes up more room than it saves, change the plan. For broader changes, see how to maximize kitchen cabinet space.
2. Make base cabinets easier to use
Put your daily skillet and saucepan at the front. Keep less-used cookware behind them only if you can retrieve it comfortably. Avoid creating a front row that must be completely emptied whenever you need the back row.
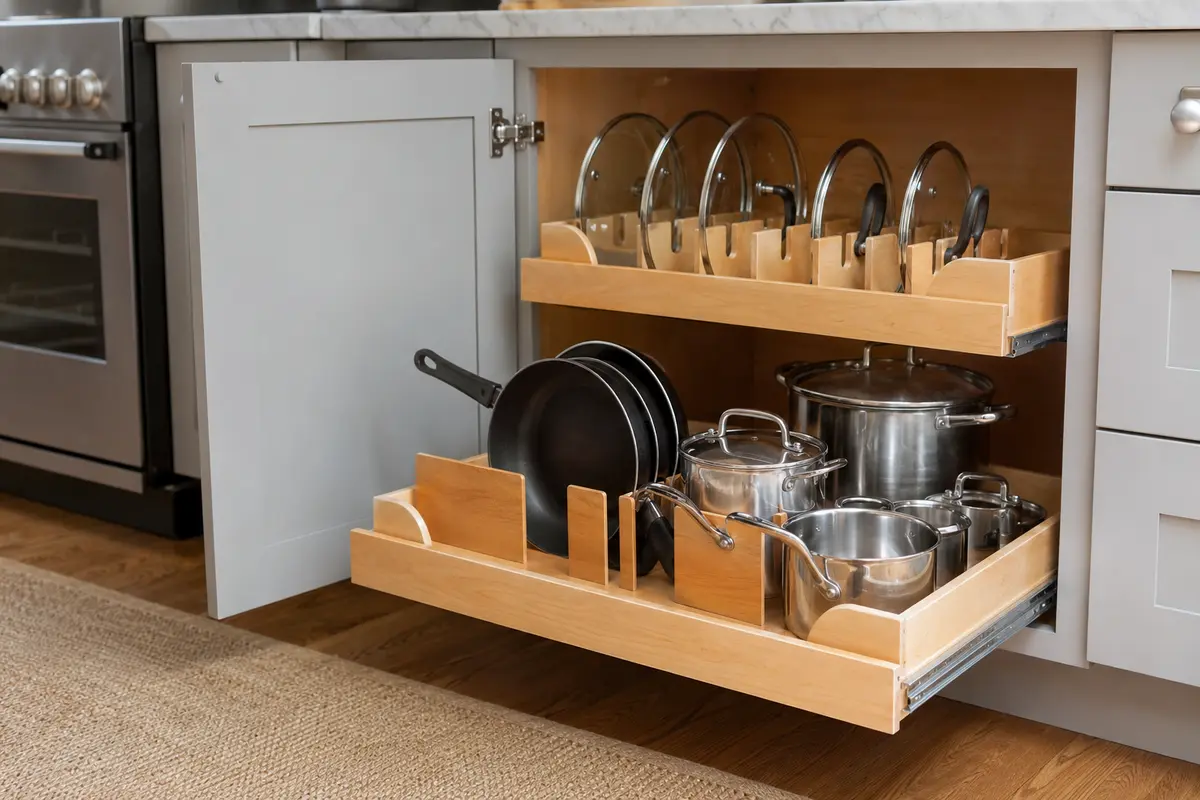
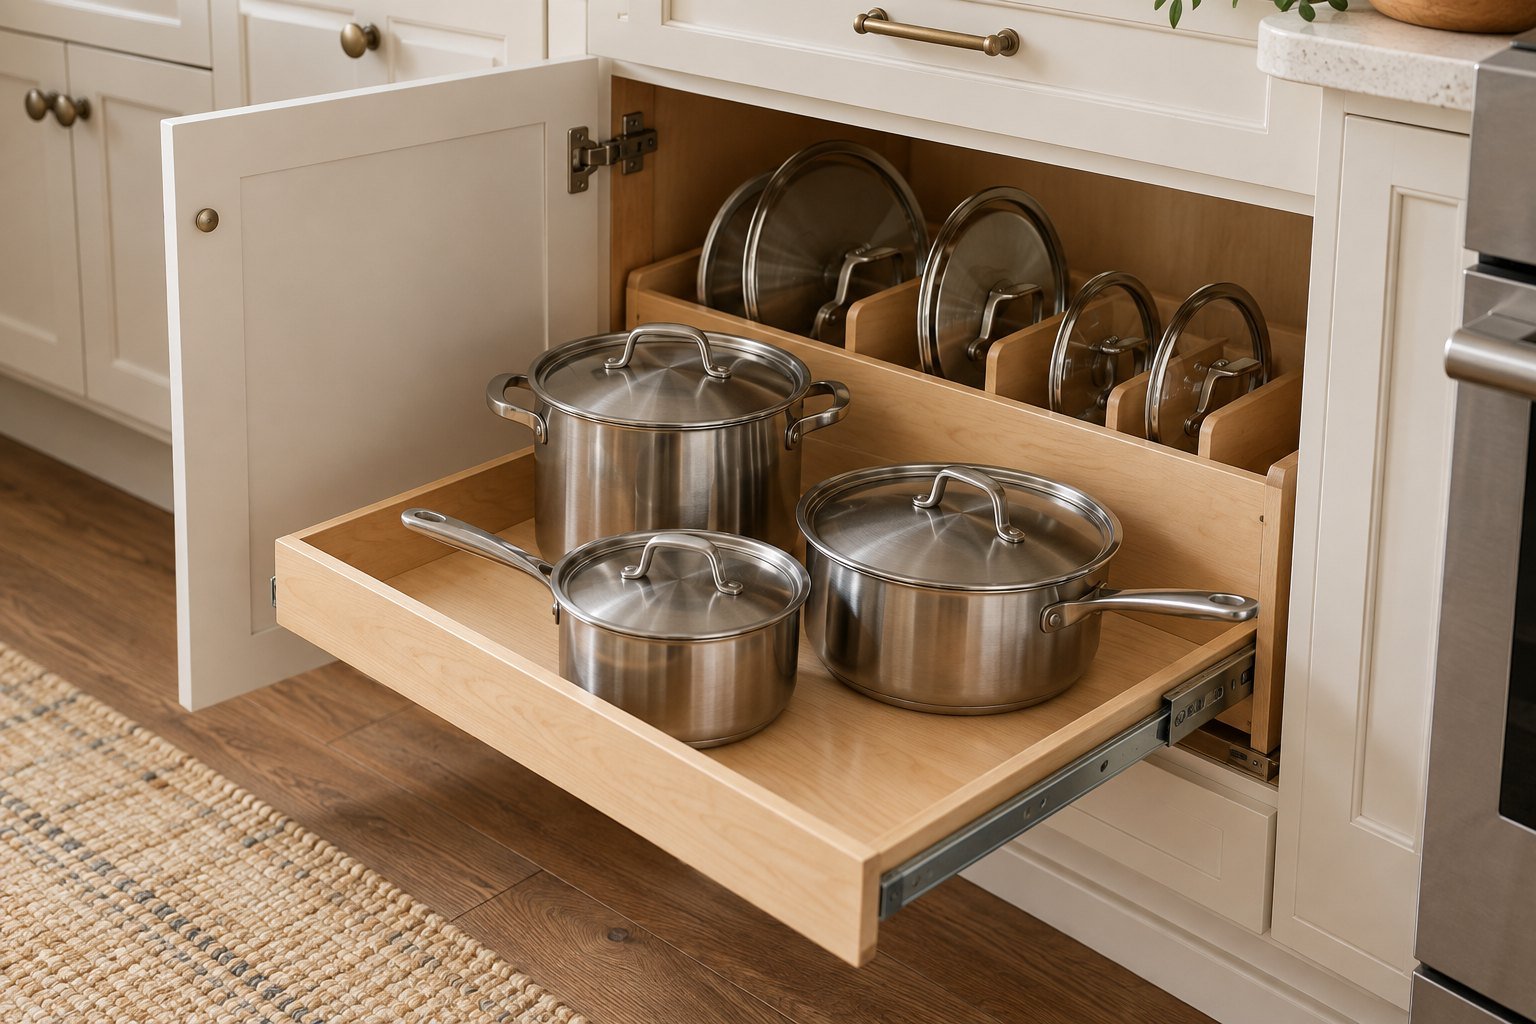
Use a pull-out when the back is the problem
A pull-out shelf brings the contents into view. Choose one that fits through the actual opening and has a stated load capacity appropriate for the cookware. Include the organizer itself in your weight calculation wherever the hardware instructions require it.
Follow the installation instructions for the cabinet type; a strong slide cannot compensate for a weak cabinet base or unsuitable mounting screws. Check that handles stay inside the shelf footprint and that the door opens far enough for the shelf to pass.
Separate frying pans instead of burying them
A stable pan rack with individual slots lets you remove a skillet without lifting the whole collection. Position it so the handles clear the door when closed. If pans wobble, the slots are too narrow, or the rack slides when you remove one, it is not a good fit.
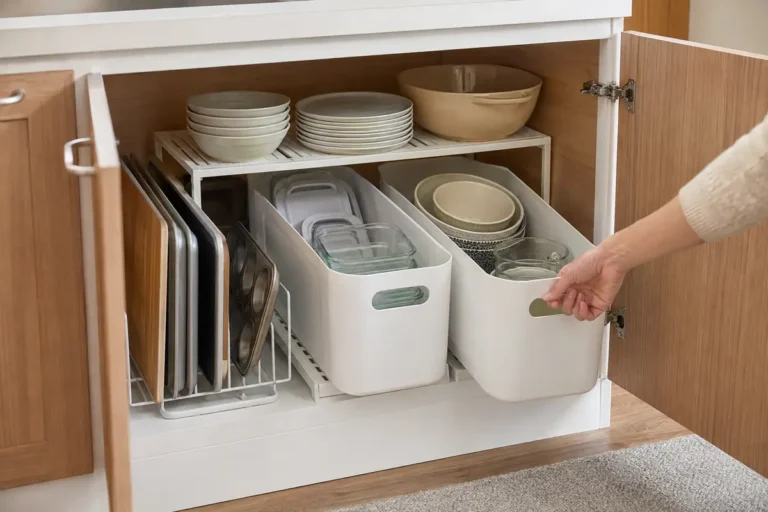
An adjustable shelf can also split an overly tall cabinet into two useful levels. Keep heavier cookware on the sturdier, more accessible level and check the shelf and support ratings. In a corner cabinet, use a fitted corner mechanism only if it suits the opening and load; otherwise reserve the awkward rear area for lightweight occasional items.
3. Give deep drawers a simple layout
Deep drawers work best when you can see what is inside at a glance. Place pots upright in a single layer where possible, with handles turned into available space rather than crossing another pot. Give lids their own supported section.
Example layout: one everyday skillet at the front, two saucepans behind it, and a lid divider along one side. This is a starting arrangement, not a fixed quantity: adjust it to your drawer dimensions and cookware.
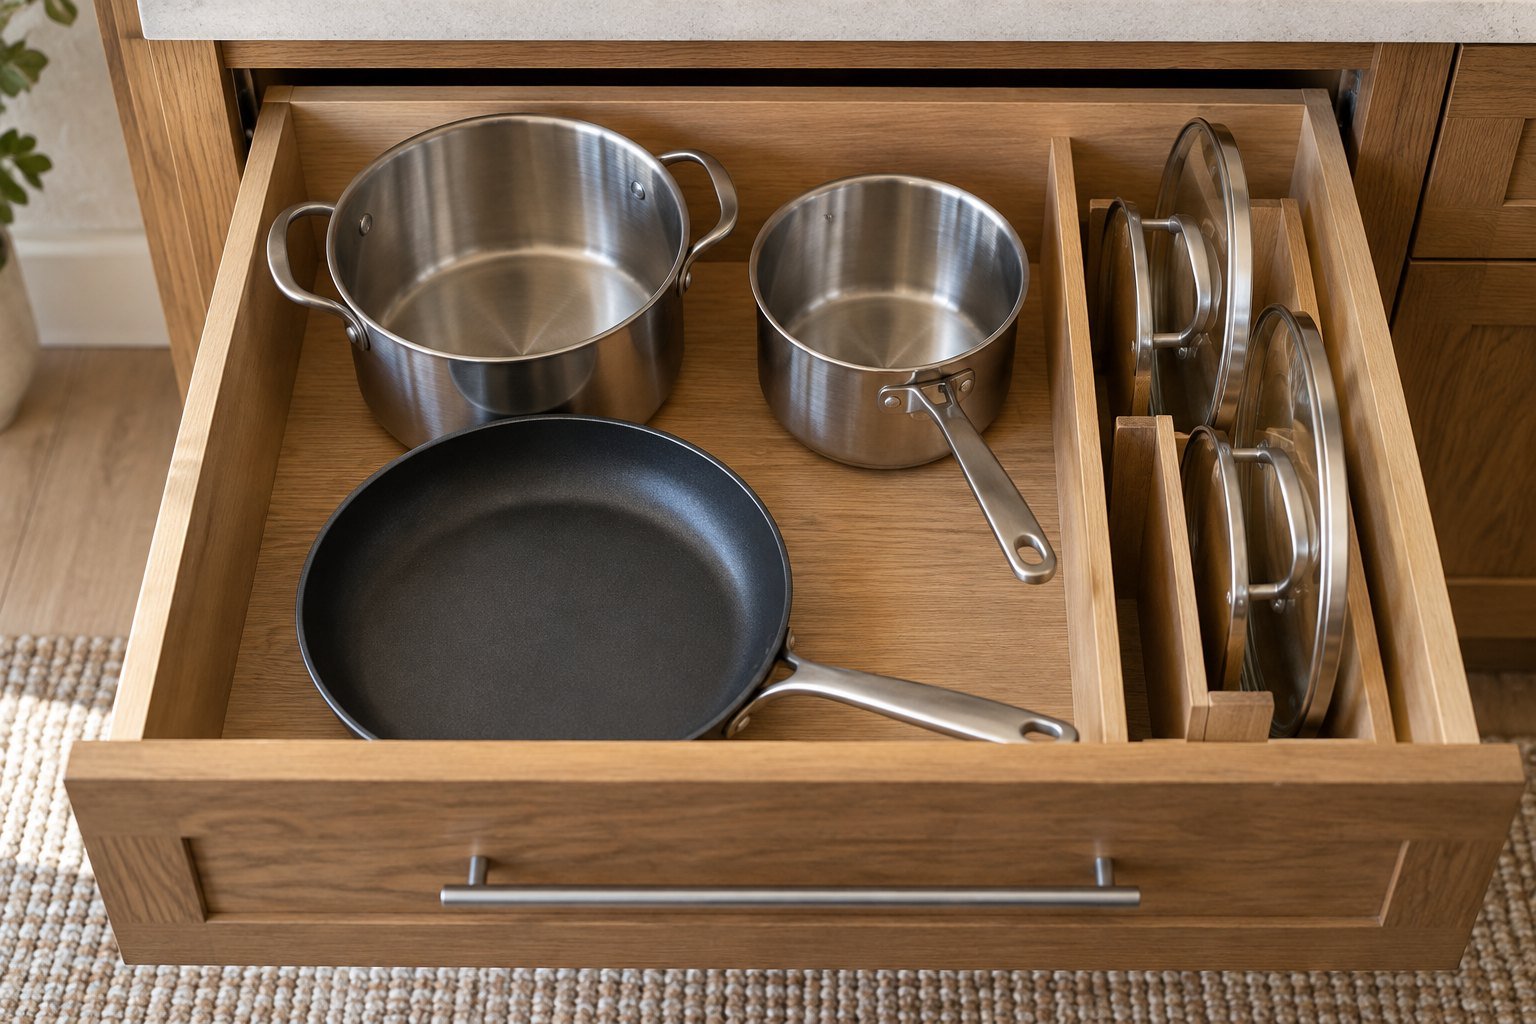
Open and close the loaded drawer slowly to check for movement and collisions. Use dividers intended for that drawer system if items shift. Do not pack every gap so tightly that you have nowhere to put your hand. Keep the total load within the drawer manufacturer's limit. Our kitchen drawer organization guide covers the surrounding utensils and tools.
4. Store lids where you can identify them
Lids need a deliberate home. A freestanding divider keeps them upright and visible without making you search through a noisy stack. Arrange them by size or keep each one near its matching pot.
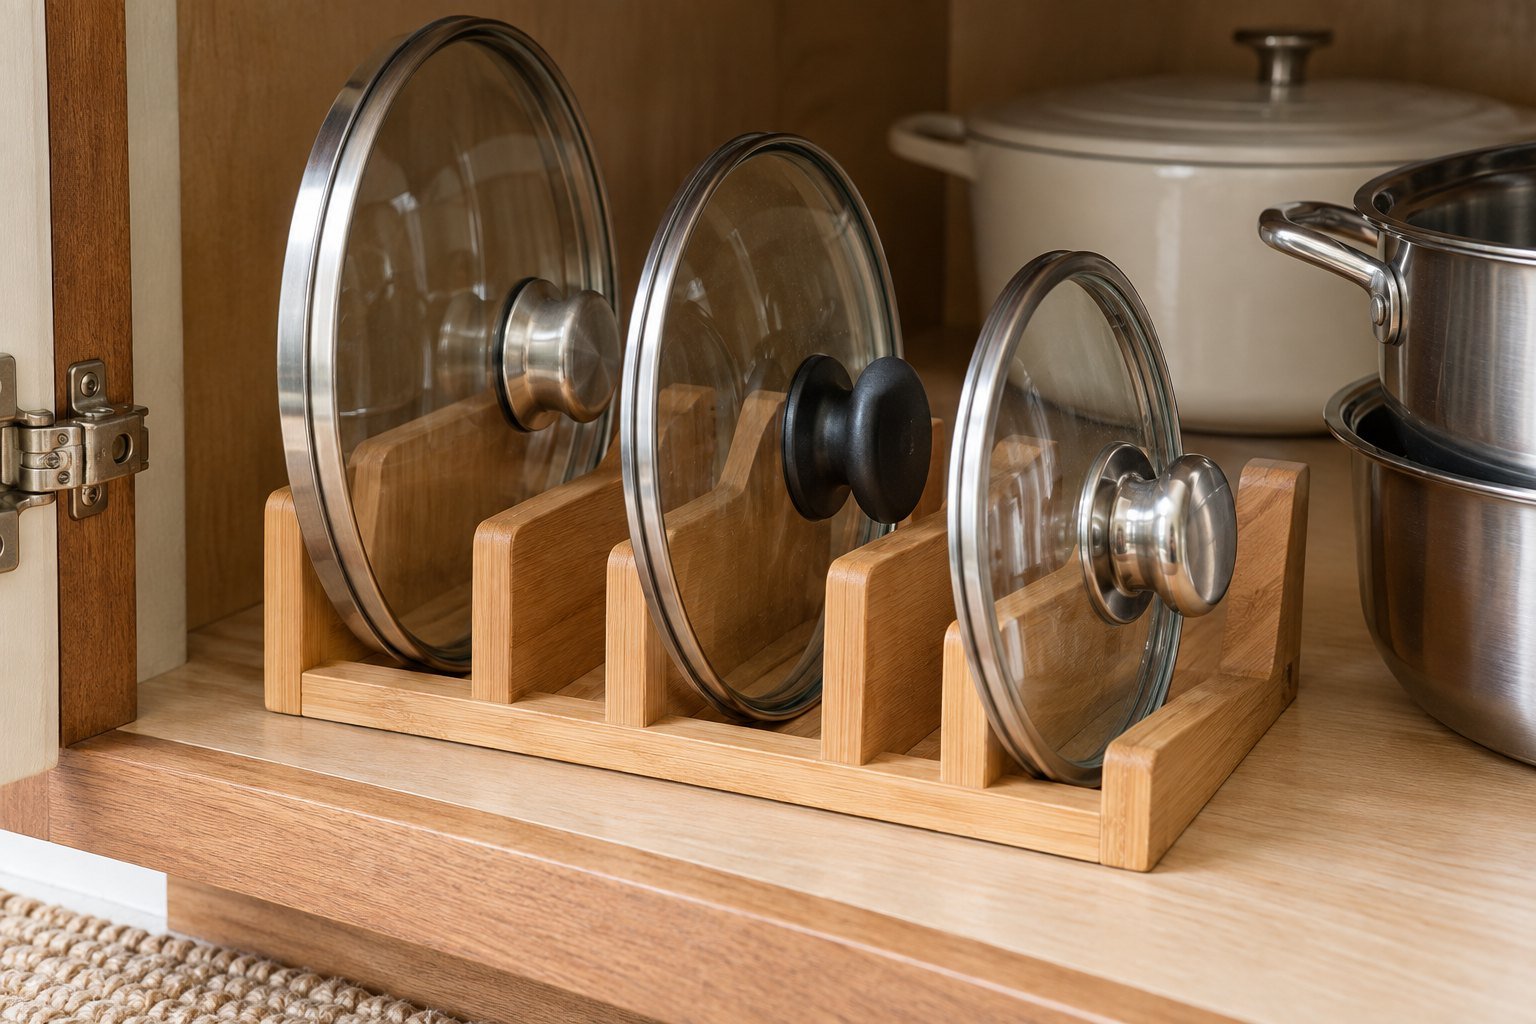
- In a cabinet: place a supported divider near the front or beside the pots.
- In a drawer: check that the tallest lid clears the cabinet above when the drawer closes.
- On a cabinet door: use a lid rack designed for the door and load, and check that lids do not hit shelves or cookware.
- On the pot: keep the lid right-side up if there is room and the cookware instructions allow it.
Do not assume a magnetic knife strip will safely hold a lid: materials, contact area, weight, and shape vary. A purpose-built supported lid organizer is easier to assess. Keep heavy glass lids away from edges where they could fall when the door opens.
5. Stack pans carefully when space is tight
If nesting is permitted by the cookware maker, use a short, stable stack with the largest suitable pan at the bottom. Put a clean, dry cookware protector between surfaces and lift each pan rather than dragging its base across the coating below.
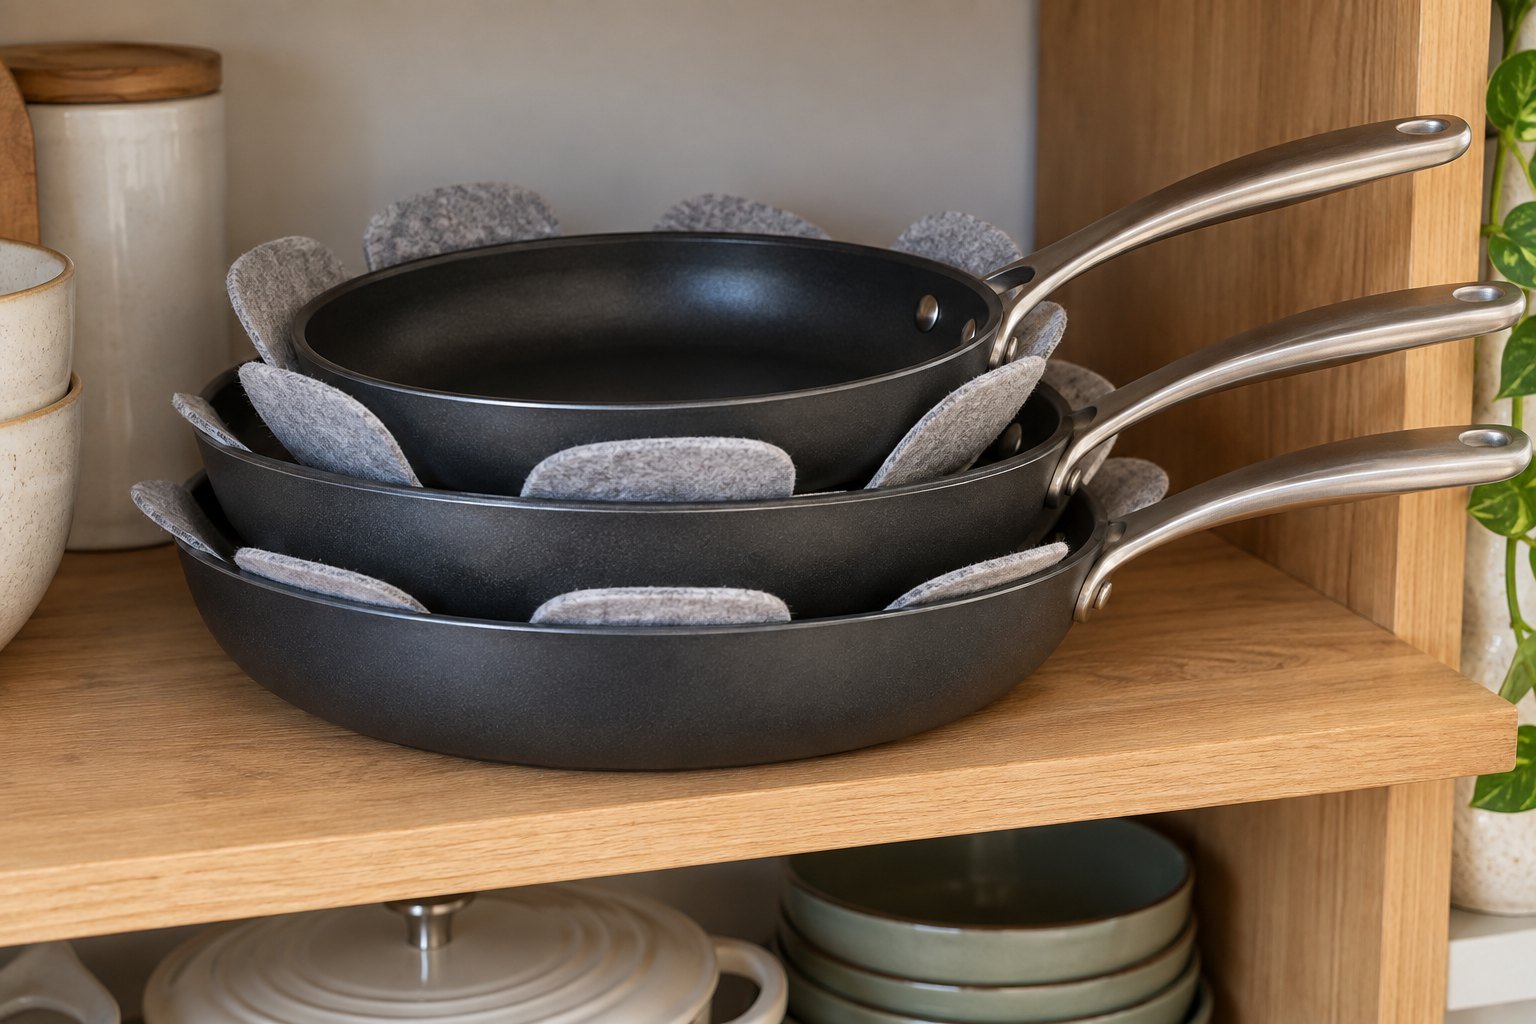
Le Creuset's storage guidance recommends thoroughly drying cookware, storing pieces separately where possible, and using protection when stacking. It also favors lids right-side up or stored separately. Follow the care instructions for your own cookware rather than assuming every finish tolerates the same arrangement.
A useful test: take out the bottom pan. If the process feels awkward or the remaining stack tips, reduce the stack or move that frequently used pan to a separate slot. Do not force handles together just to make the stack look tidy.
6. Keep cast iron and Dutch ovens easy to lift
Heavy cookware deserves the easiest lifting route. Use a sturdy shelf or appropriately rated drawer at a height that suits your reach. Avoid an overhead location that requires balancing a heavy pot while standing on a stool, and avoid a very low position if bending makes lifting difficult.
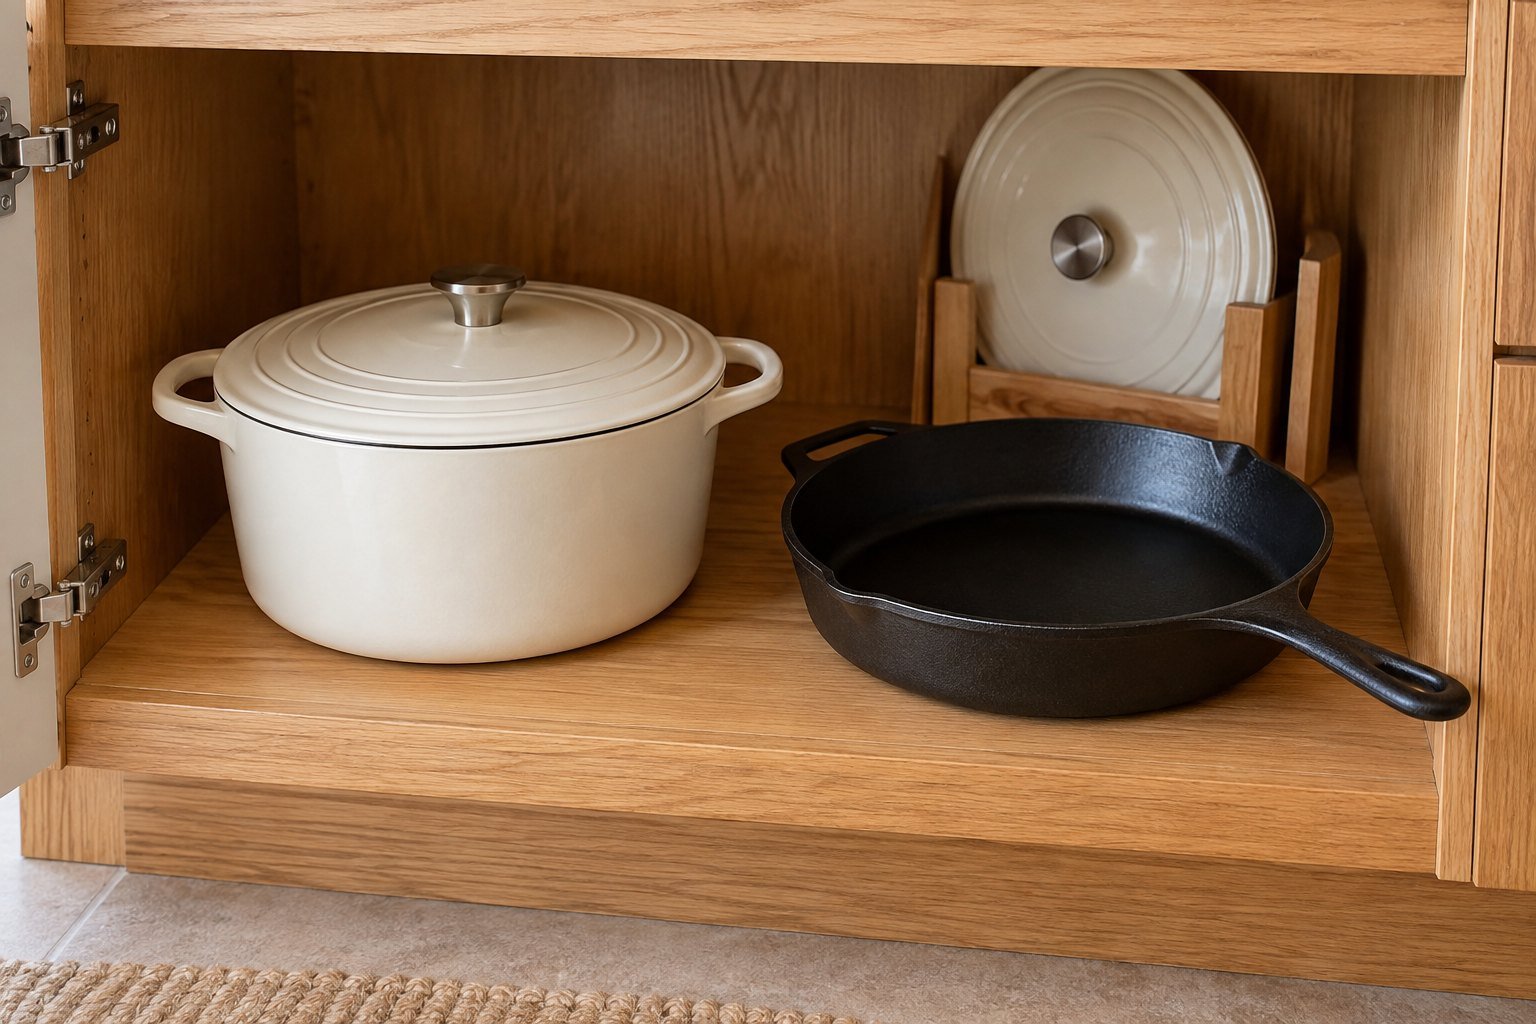
Store heavy pieces separately when space permits. Keep the area dry and leave room around handles. Lodge's cast iron guidance calls for storage in a cool, dry place. If your skillet also needs care, see our cast iron seasoning guide.
7. Use small-kitchen space without overcrowding it
Start with changes that cost nothing
Move occasional cookware out of the main cooking cabinet, match and remove orphan lids, and rearrange existing adjustable shelves. Keep only the pans you actually use in the easiest-to-reach area. Try this for a week before deciding what storage accessory is missing.
A small kitchen often needs fewer obstacles rather than more organizers. If a shelf insert creates an opening too low for your stockpot, it has reduced useful space. If a lid rack blocks access to the only skillet you use daily, move it.
Consider a wall rail when the location is suitable
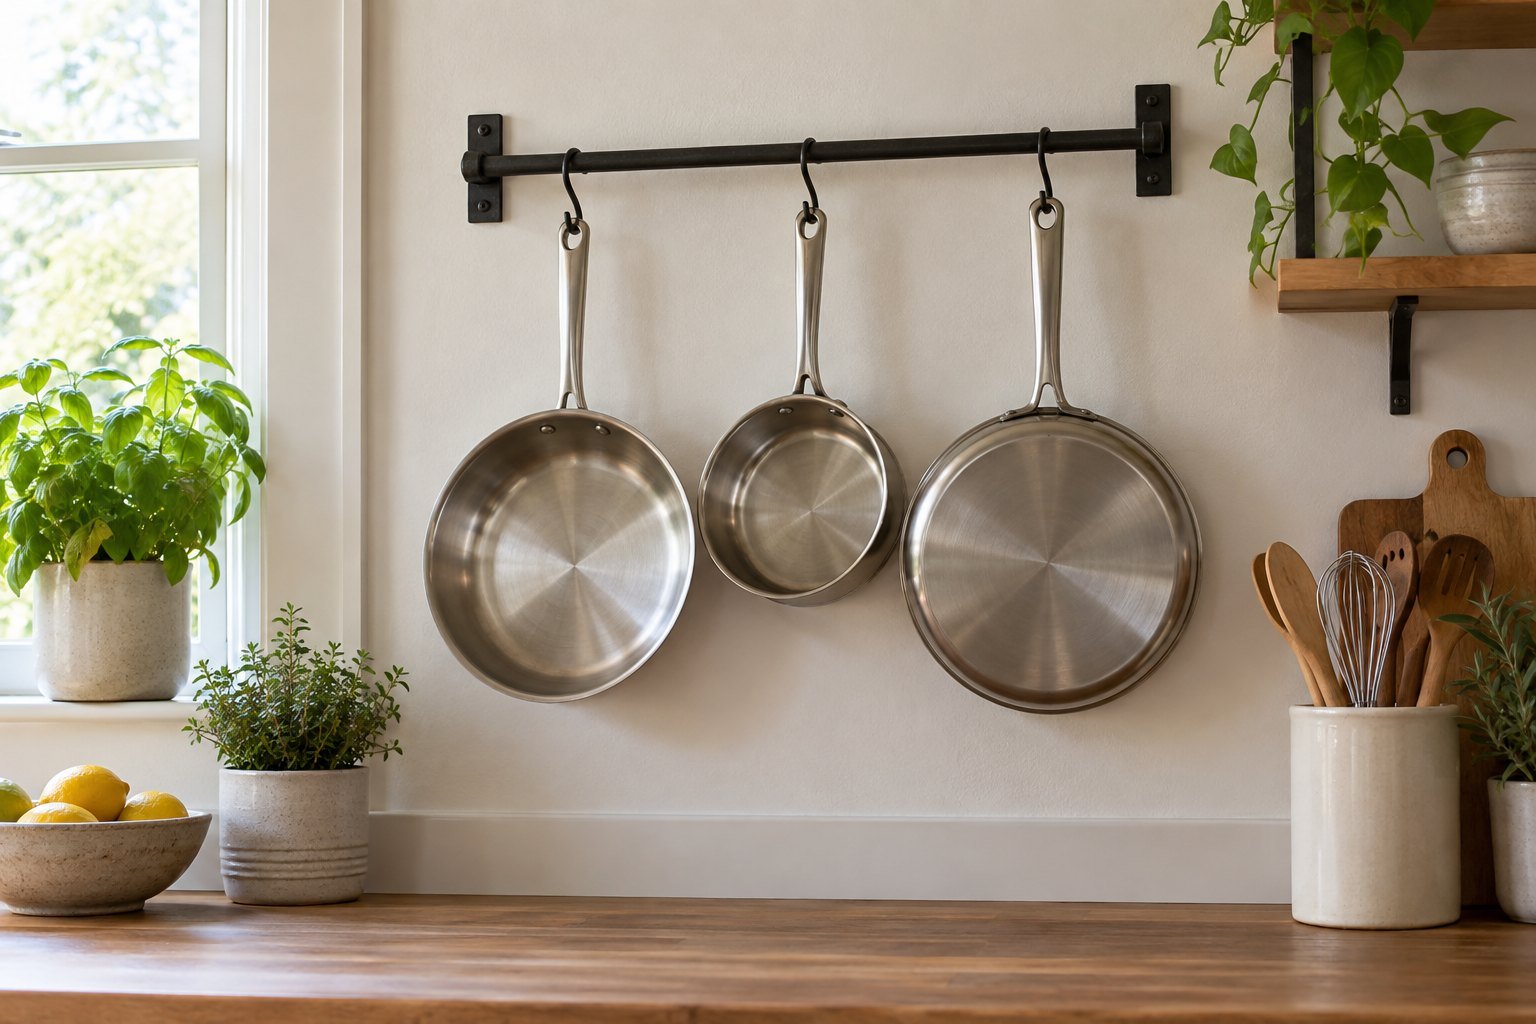
Use a rail and hooks designed for cookware, installed with the specified fasteners into an appropriate supporting surface. Check both individual hook limits and the total system limit. Keep pans clear of heat, door swings, walkways, and places where children could pull them down. A decorative rail or adhesive hook is not automatically suitable for cookware.
Hanging storage also leaves pans exposed to kitchen dust and grease. If you seldom use them or dislike wiping them down, enclosed storage may be the more convenient choice. Renters can start with freestanding dividers and rearranged shelves instead of drilling.
Common storage mistakes and their fixes
| What keeps happening | Likely layout problem | Try this |
|---|---|---|
| You remove several pans to reach one | Everyday cookware is buried | Move it to the front, its own slot, or a separate drawer section |
| The cabinet door will not close | Handles or lid knobs were not included in measurements | Reorient the cookware or choose a shallower organizer |
| Lids fall when you open the door | Unsupported lids or an unsuitable door rack | Use fitted slots on a shelf and check the rack's intended use |
| The drawer is difficult to move | Possible overload, obstruction, or hardware problem | Unload it and check the manufacturer's instructions before using it again |
| The cabinet becomes cluttered again | There is no obvious home for returned cookware | Leave a clear space for each daily piece and relocate occasional items |
A quick reset you can repeat
- After washing: let cookware cool and dry fully before putting it away.
- When returning it: put each piece in its assigned space, with its protector or lid in place.
- Once a week: straighten the lid section and move any stray items out of the cookware area.
- When buying a new pan: decide where it will fit before adding it to the collection.
- Every few months: review what you use, wipe the empty storage area, and inspect organizers for movement or damage.
Finish with one practical check: take out the cookware for a meal you make often, then put it all back. The layout works when both steps are straightforward. Adjust the awkward spot rather than reorganizing the entire kitchen again.
Frequently asked questions
Is it safe to stack pots and pans?
Yes, if the stack is stable and not too heavy. Place protectors between nonstick or enameled surfaces to prevent scratches.
What is the best way to store pan lids?
A vertical divider, door rack rated for the load, or dedicated shallow drawer keeps lids visible and prevents unstable piles.
Can pans be hung on a wall?
Use properly anchored hardware rated for the total weight and keep handles away from walkways, children, and heat.
Image note: The new storage examples are AI-generated illustrations for layout inspiration, not photographs of tested products. Check dimensions, mounting instructions, and load ratings for your own kitchen.
Kitchen conditions and products vary. Follow manufacturer guidance and consult a qualified professional when safety or specialist work is involved.