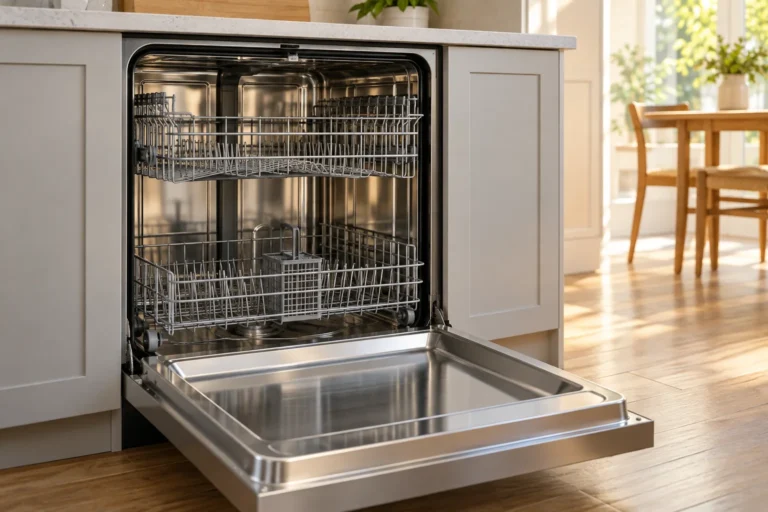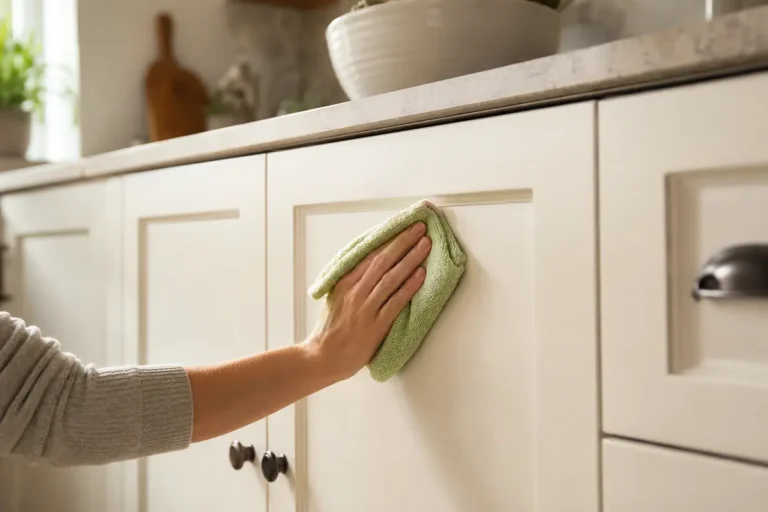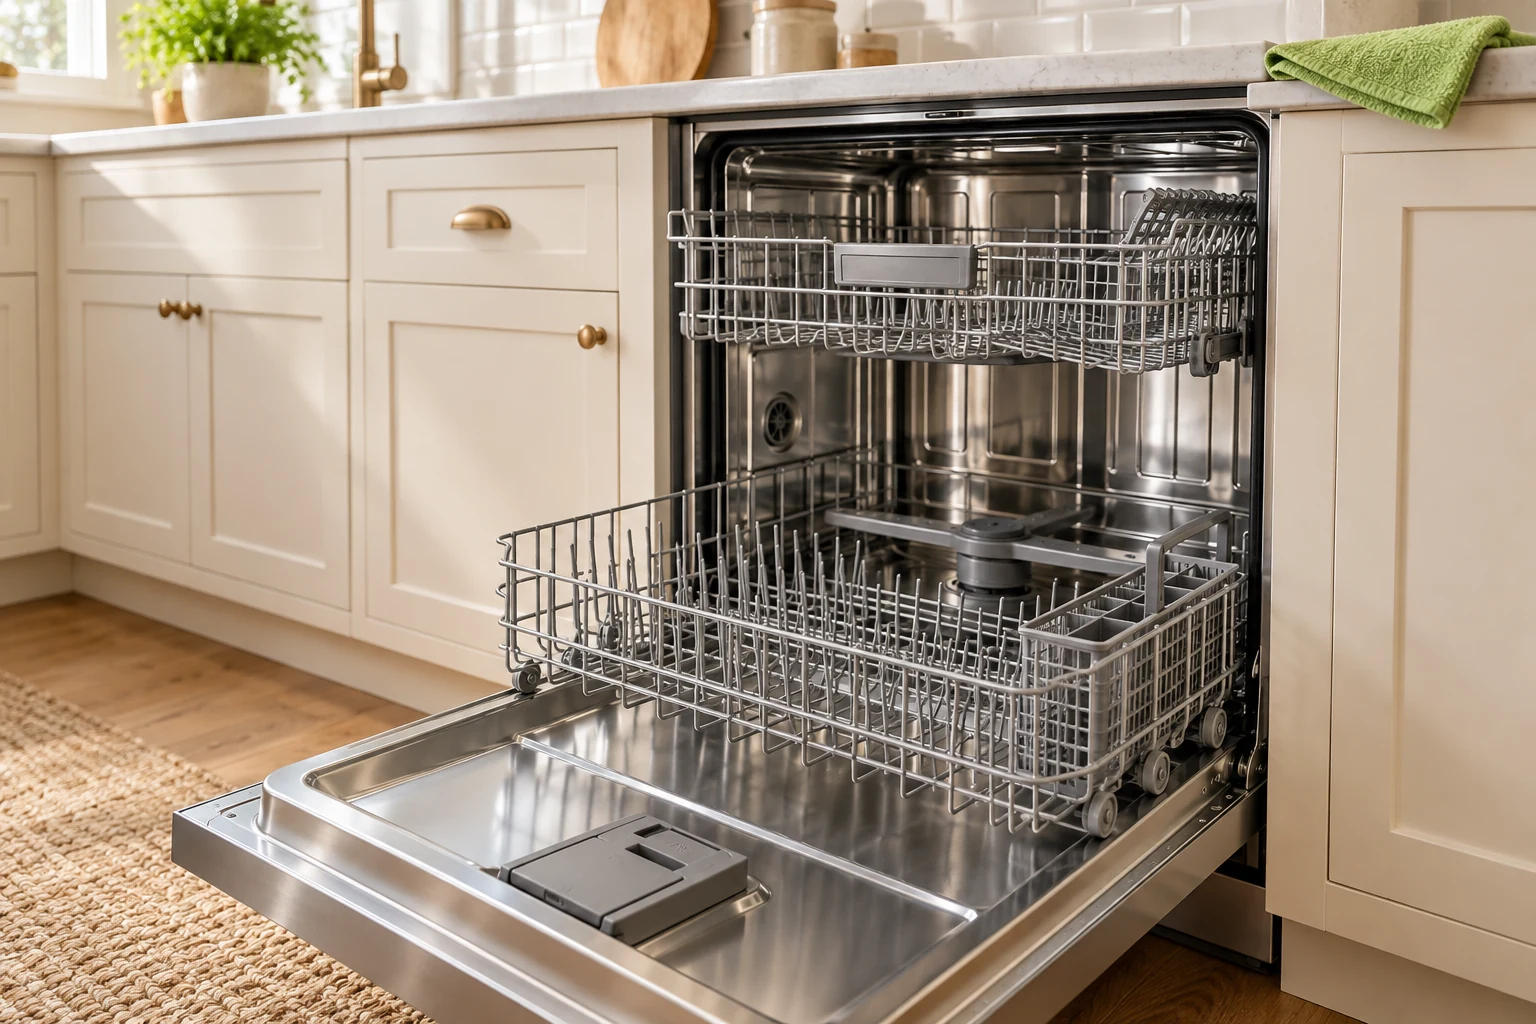
A dishwasher can wash plates every day and still collect grease, food particles, and mineral deposits. Learning how to clean a dishwasher means checking the places a normal wash may miss: the filter, spray-arm openings, door seals, and interior edges.
This guide covers routine owner maintenance. Your appliance manual takes priority for removable parts, cleaning products, and cycle settings. The images illustrate generic appliances; they are not photographs of a tested model.
Quick dishwasher cleaning checklist
- Empty the dishwasher, let it cool, and check the care instructions for your model.
- Clean the removable filter, if your model has one.
- Inspect the spray arms and clear accessible blocked jets as the manual permits.
- Wipe the door seals, edges, and accessible interior surfaces.
- Refit every part, then run the manufacturer-approved cleaning cycle or cleaner treatment.
- Check for lingering smells, residue, and drainage problems after the cycle.
Do not make vinegar the default: KitchenAid warns that it is unsuitable for some dishwasher interiors. Choose a cleaner approved for your appliance and follow its label.
Before you start: find the manual and gather supplies
Find the model number on the appliance label, often around the door opening, and locate its use-and-care guide. Check whether the filter needs manual cleaning, which spray arms can be removed, and which cleaners are permitted. A stainless steel appearance alone does not establish that vinegar is safe.
Gather a soft microfiber cloth, a soft nylon brush, warm water, gloves, and an approved dishwasher cleaner if needed. Remove dishes and allow hot surfaces to cool. Disconnect power before putting hands inside or removing parts, using an accessible plug or the appropriate breaker. Do not pull out a built-in dishwasher to reach its plug.
Watch for broken glass around the filter; do not sweep hidden areas with bare fingers. Routine cleaning does not require opening electrical panels or dismantling the pump.
1. How to clean a dishwasher filter
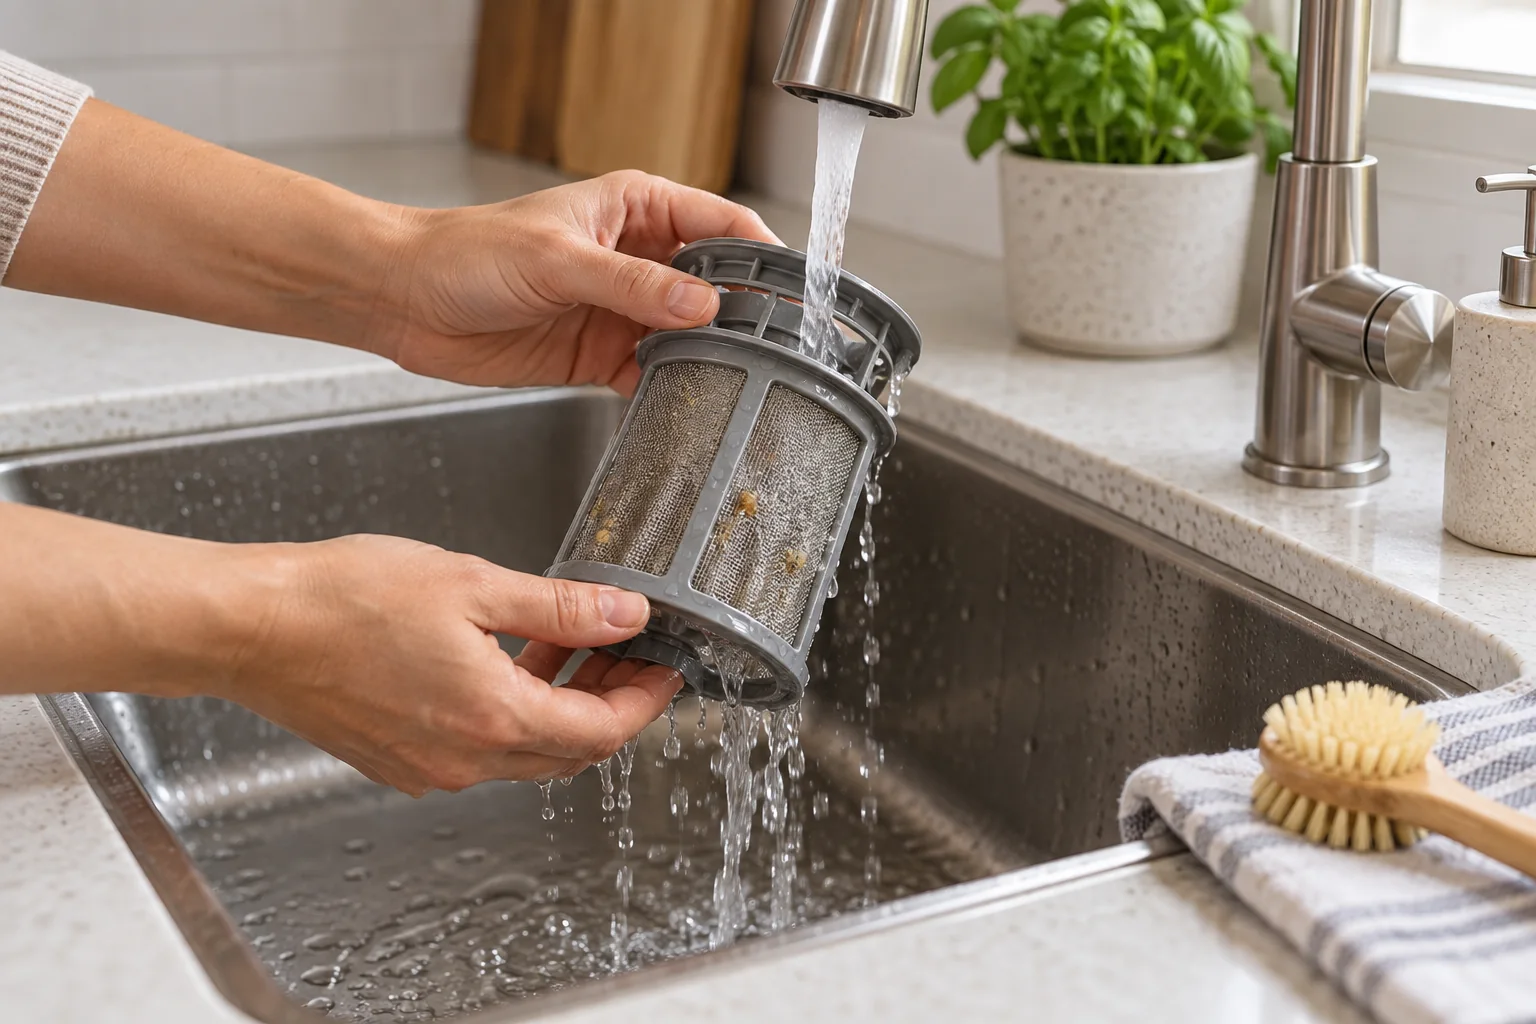
A removable filter catches food before it recirculates. A coating of grease or trapped scraps can leave grit on dishes. However, some machines have a self-cleaning or maintenance-free filter; do not pry out a fixed assembly.
- Remove the lower rack and identify the filter using the manual diagram.
- Release it exactly as directed. Some filters twist; others have a different latch or a separate debris cup. Never force a part because it resembles an online example.
- Rinse under running water. Use warm water and a soft brush for residue lodged in mesh or folds. Avoid wire brushes, scouring pads, and scraping that could damage the screen.
- Remove visible, loose debris nearby without reaching into the pump or removing covers not intended for owner maintenance.
- Reinstall and secure the filter. Follow the alignment marks or locking instructions. Do not run a wash with the filter missing or loosely fitted.
Whirlpool’s filter guidance shows why designs differ, including removable filters and maintenance-free systems with a foreign-object cup. For more detail, see our dishwasher filter maintenance guide.
2. How to clean dishwasher spray arms
Spray arms distribute wash water through small openings. A clogged jet or an arm blocked by a tall plate can leave one area of the rack poorly washed.
- Inspect first. With power disconnected, check the openings and gently test whether each arm can rotate without hitting a rack or utensil.
- Remove only owner-removable arms. Upper and lower arms may use different clips, nuts, or release motions. Consult the manual and take a photo of the mounting arrangement before removal.
- Rinse the detached arm under running water. Flush loose particles through the openings.
- Clear stubborn visible debris carefully. Bosch recommends a toothpick for its spray-arm holes. Use this method only if your model’s instructions allow it. Work gently; do not enlarge the jets, use a drill, or leave a broken tip inside.
- Refit securely and check movement. Confirm the arm is attached correctly and turns freely before replacing the rack.
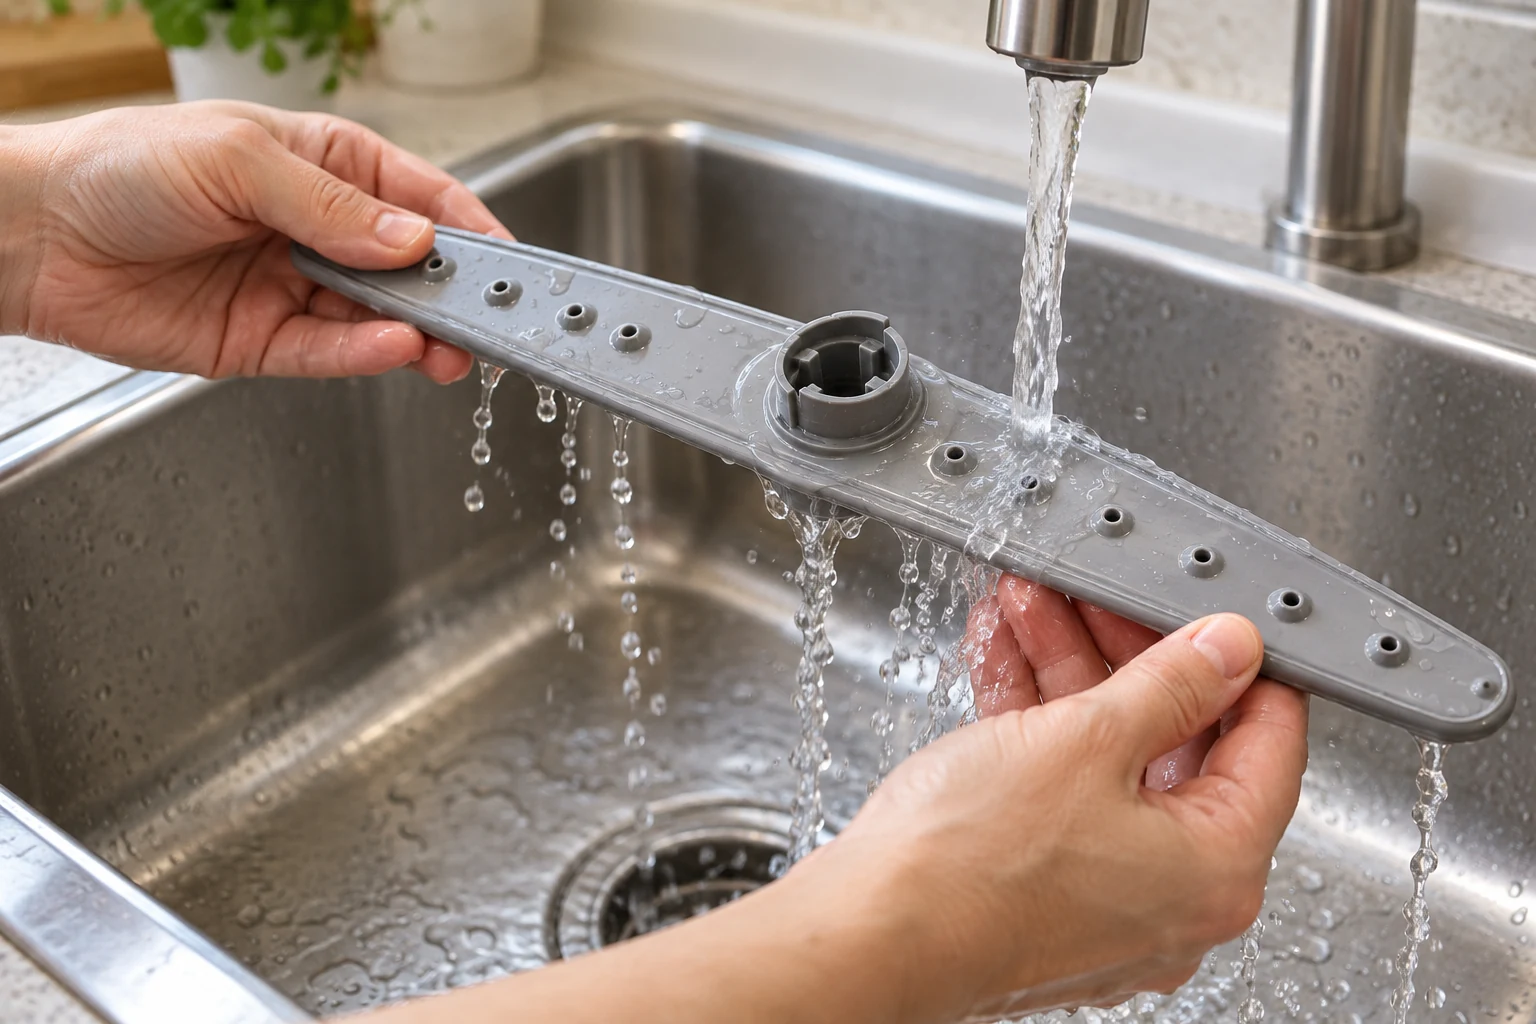
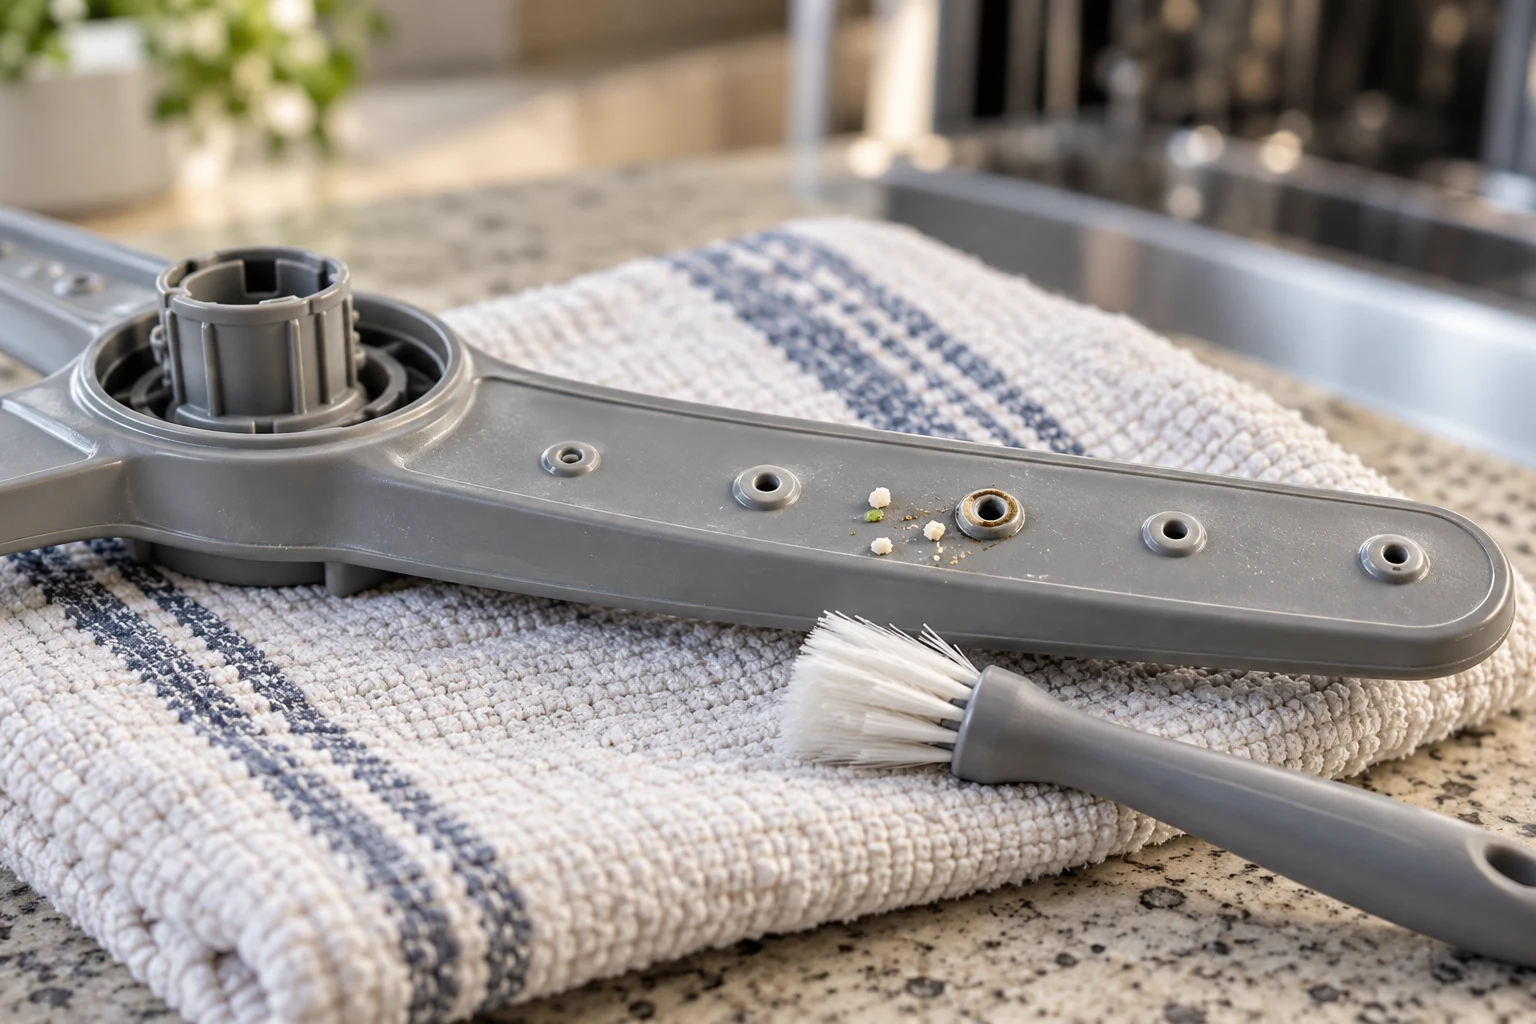
If an arm does not detach easily, stop and consult the manual. Bosch’s spray-arm cleaning guide is a useful manufacturer example, not a universal removal sequence.
3. Clean the door seals and edges
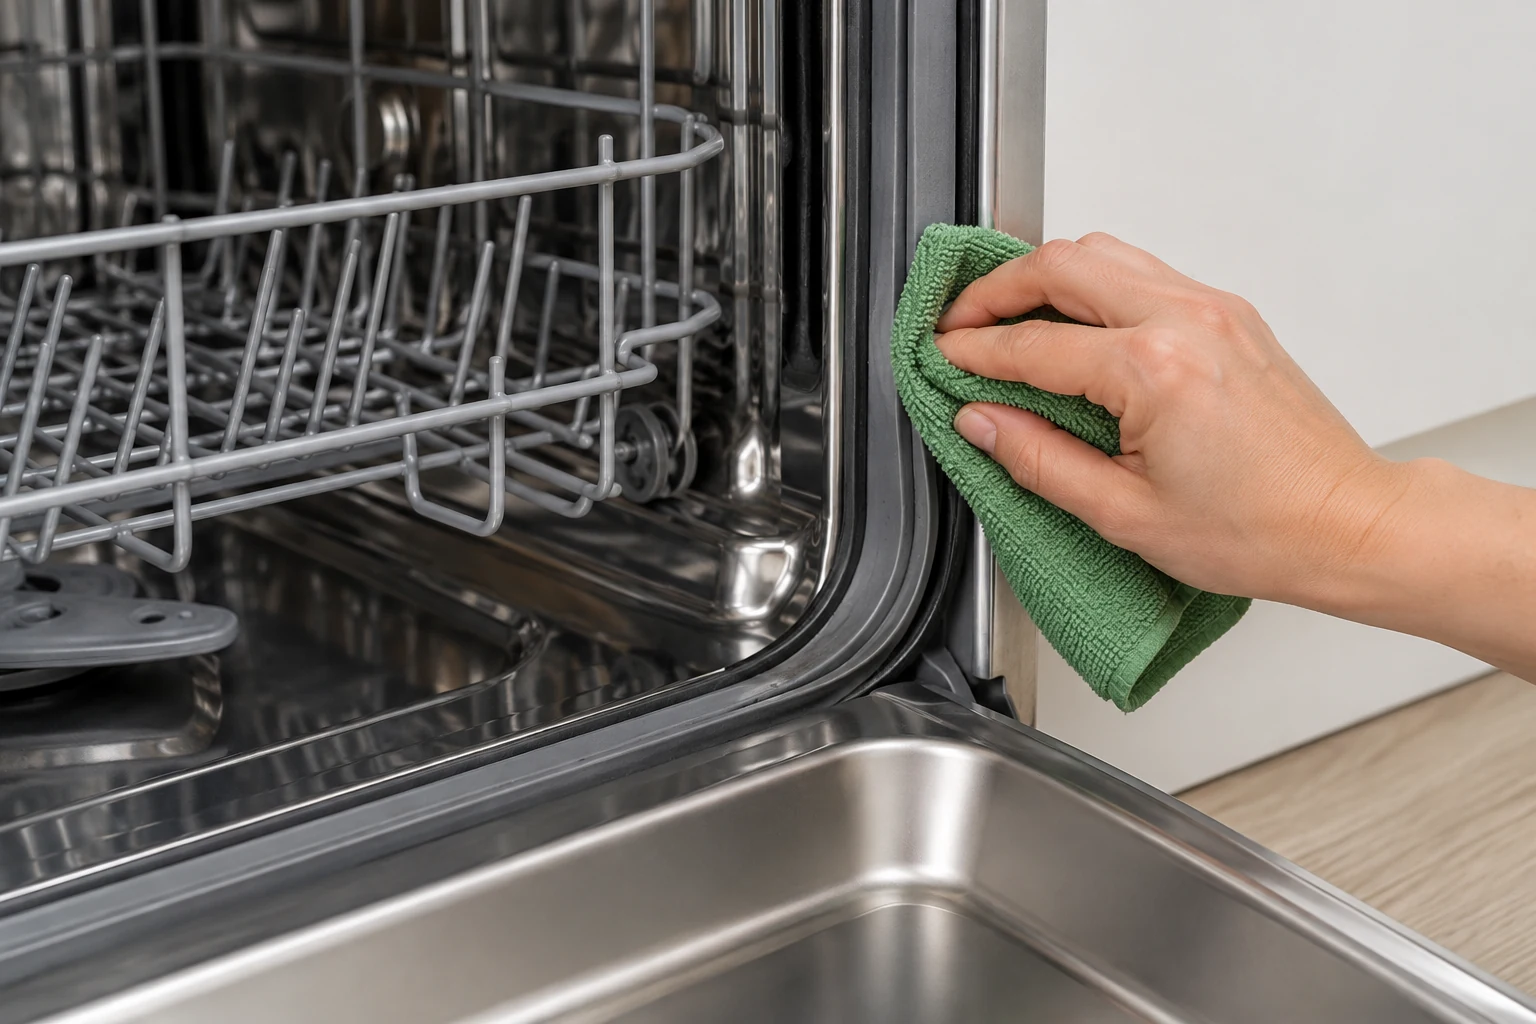
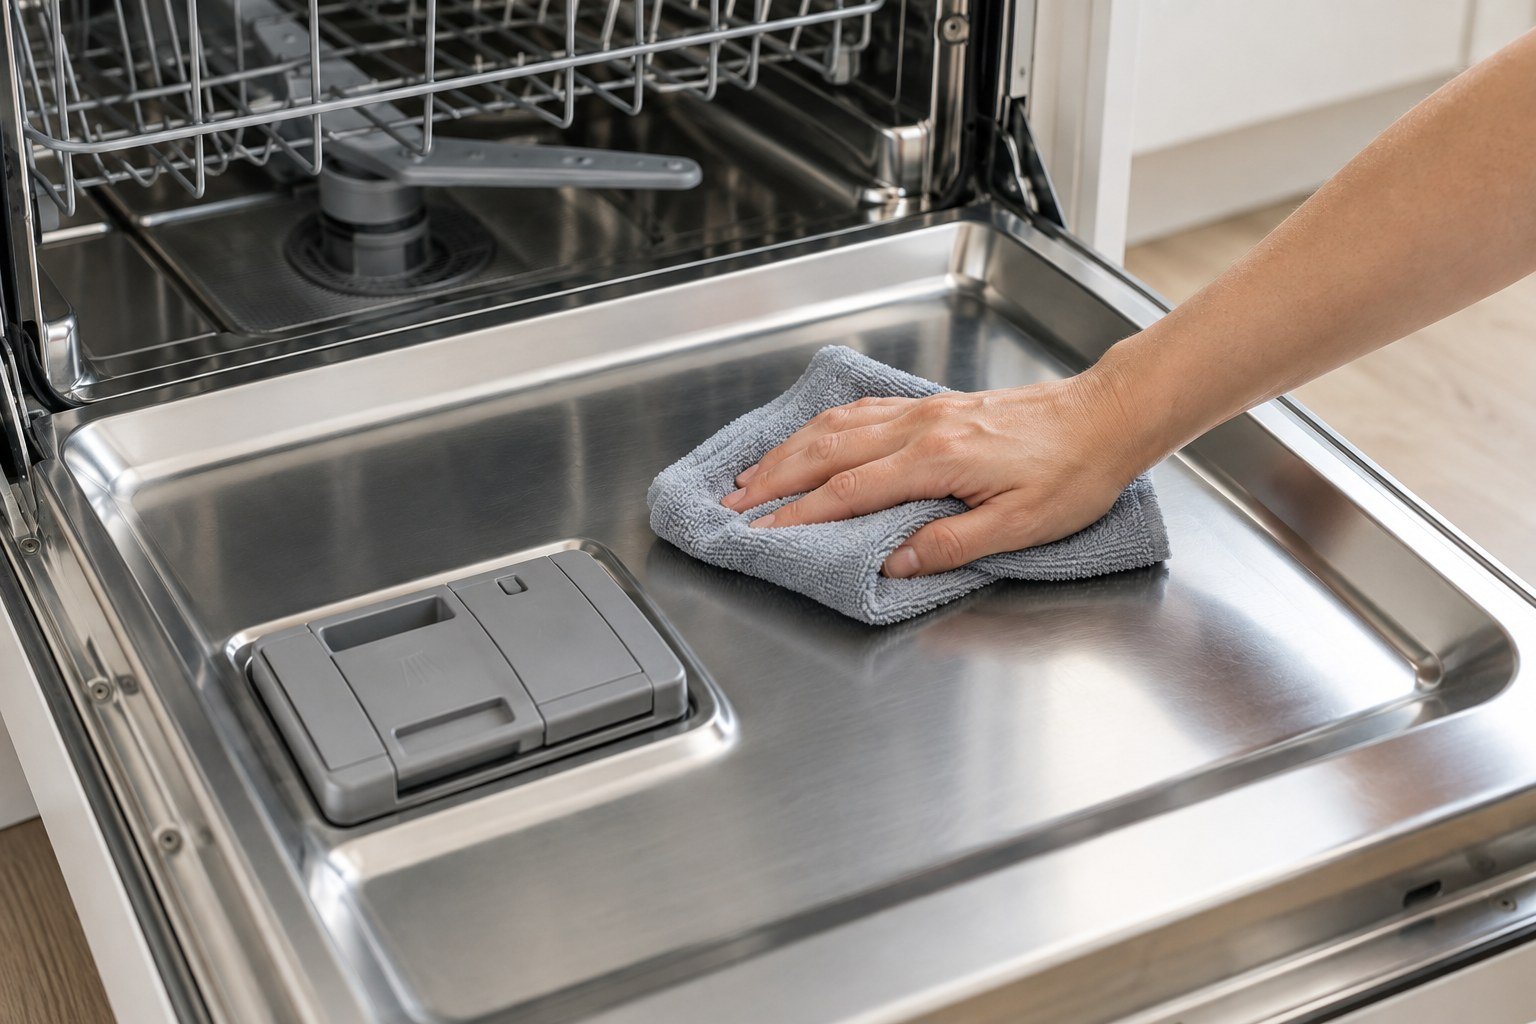
Food and moisture can collect around the gasket and lower door edge, including areas outside the main spray pattern. Gently wipe the fitted seal with a soft cloth dampened with warm water. Work along its visible folds without pulling it out of its channel.
If your manual allows mild soapy water, use only a little on the cloth, then wipe away the residue with a clean damp cloth. Do not pour cleaner into the seal or soak the controls, latch, or vent. Check for tears, looseness, or hardened sections: cleaning will not repair a damaged gasket.
4. Wipe the dishwasher interior
Remove accessible scraps and wipe the inner door, tub edges, and other reachable surfaces with a soft damp cloth. Check the cutlery basket and rack corners for stuck food. Clean dispenser residue only as the care guide permits, without forcing the lid or poking into its mechanism.
Avoid abrasive pads and harsh chemicals that can damage finishes. Do not scrape the heating element or treat a pump cover as a routine cleaning access point. KitchenAid’s interior-cleaning guidance recommends regular cleaning and model-appropriate products.
5. Choose a dishwasher cleaner, descaler, or vinegar
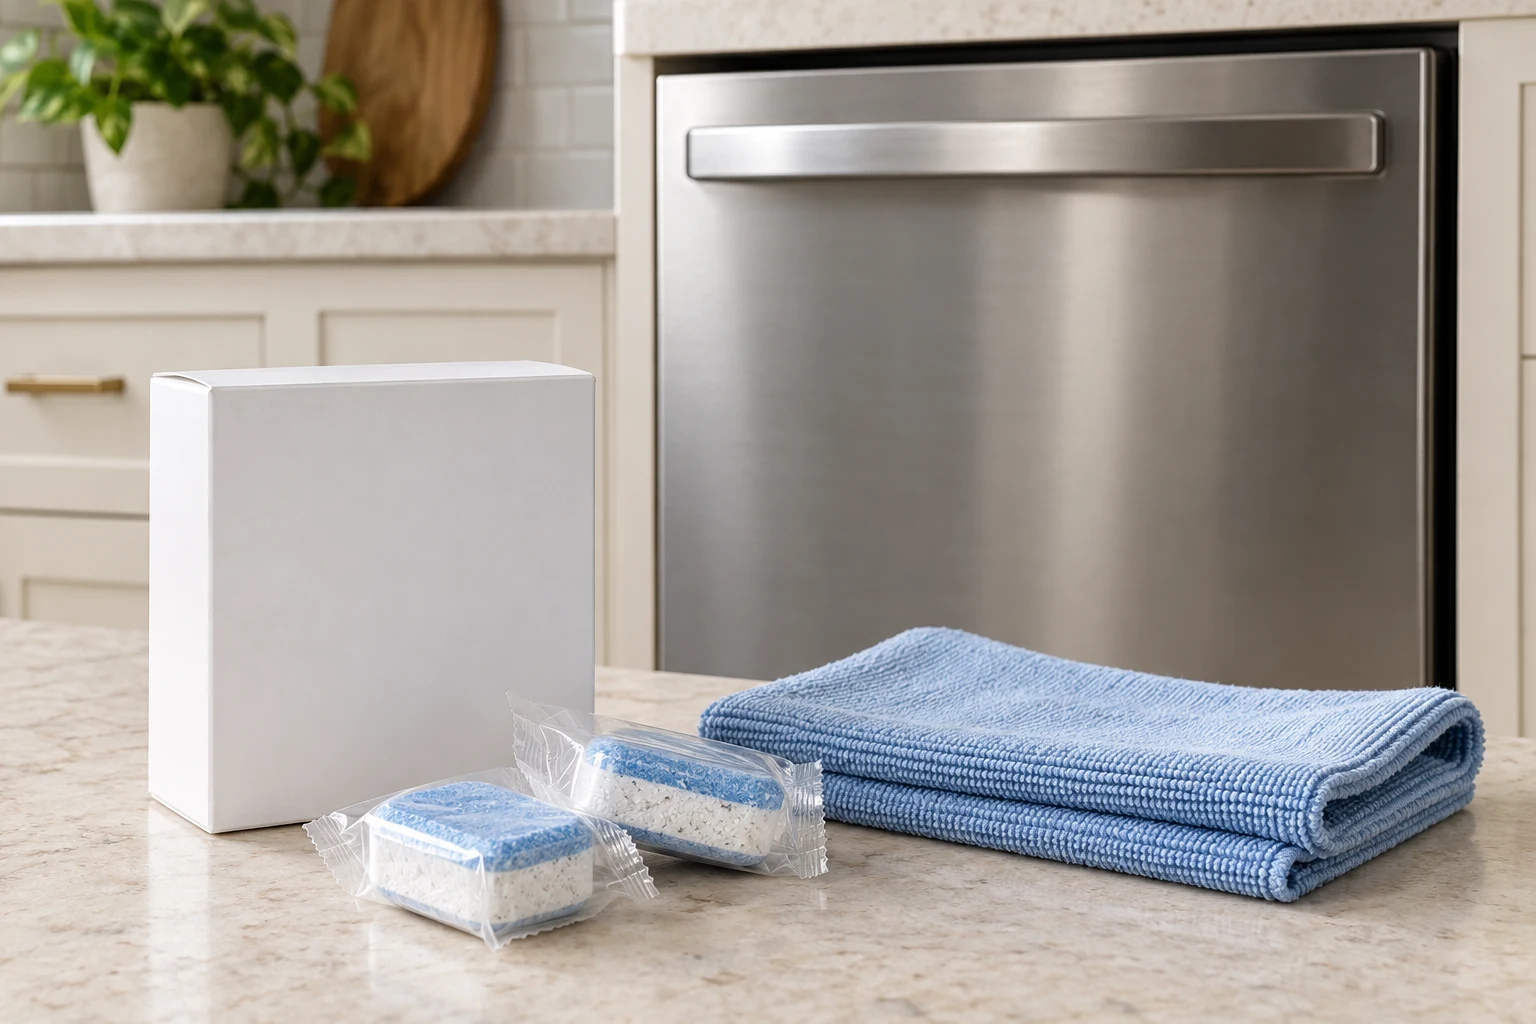
Match the product to the problem and the appliance. A dishwasher cleaner and a descaler can serve different purposes: Bosch distinguishes food-related buildup from hard-water limescale.
| What you notice | What to consider |
|---|---|
| Greasy film or food-related odor | A dishwasher cleaner approved for your model, after removing trapped food. |
| Chalky mineral deposits | A compatible descaler or cleaner specifically labeled for mineral buildup. |
| A manual that explicitly permits vinegar | The exact occasional vinegar procedure in that manual. |
| No clear vinegar guidance | Use an approved cleaner or ask the manufacturer; do not assume compatibility. |
When is vinegar appropriate?
KitchenAid explicitly cautions that vinegar is not suitable for every dishwasher interior. Some approved procedures use two cups of white vinegar in an upright dishwasher-safe glass on the lower rack, a complete wash without detergent, and air or energy-saving drying. Follow that approach only when your own model’s instructions permit it; quantity, placement, and settings may differ. Frequent acid exposure can damage the appliance.
Do not combine vinegar with bleach or other cleaners. A vinegar-and-baking-soda mixture is not a substitute for a validated cleaning method. Whirlpool’s cleaning guide describes separate treatments rather than adding both together. Skip either treatment if it is not approved for your model. Never use hand dishwashing liquid as machine detergent, and do not pour drain opener into the dishwasher.
Run the approved treatment
Reassemble all parts and restore power. Follow the cleaner label and appliance manual for dose, placement, empty versus loaded operation, and cycle selection. Some products permit dishes; others require an empty machine. Do not automatically choose the hottest setting or add extra detergent. Afterward, let the appliance cool and inspect the result.
Still smells bad or leaves dishes dirty?
Cleaning helps with residue, but it cannot solve every wash or drainage fault. Use the symptom to decide the next step.
| Symptom | Next check |
|---|---|
| Grit or food on dishes | Confirm the filter is clean and locked, jets are clear, and dishes have space between them. |
| One rack washes poorly | Check spray-arm attachment and clearance; tall dishes or utensils may obstruct rotation. |
| Cloudy or chalky residue | Review water hardness, detergent dose, and rinse-aid settings in the manual. More cleaner is not automatically the answer. |
| Food odor returns quickly | Recheck the filter, gasket folds, basket, and door edges for trapped scraps. |
| Standing water or sewage-like odor | Investigate drainage rather than repeating cleaning cycles. Start with our dishwasher not draining guide. |
Bosch’s wash-performance advice emphasizes filter care, loading, and free spray-arm movement. Scrape off large scraps before loading; routine prewashing is generally unnecessary. If dishes must wait, use a rinse-and-hold option only if your appliance provides one and follow its instructions.
After use, allow the interior to dry as the manual recommends. Leave the door slightly ajar only where this is safe for children, pets, and people walking past. Persistent odors, leaks, or drainage trouble need investigation; a burning smell is a reason to stop using the appliance. See KitchenAid’s dishwasher odor guidance for further checks.
A practical dishwasher maintenance schedule
Use this as a reminder to inspect, then adjust the cleaning interval to your manual, usage, and water hardness. Manufacturer schedules differ: some recommend monthly machine cleaning, while others specify longer intervals.
| When | What to do |
|---|---|
| After loading or unloading | Remove large scraps, check for dropped items, and keep spray arms unobstructed. |
| Weekly check | Look for residue on the door edges and seal; inspect an owner-serviceable filter and clean when needed. |
| Monthly reminder | Review whether an approved machine-cleaning treatment is due; follow the model’s actual interval. |
| Every few months | Inspect spray-arm openings and check for mineral buildup, sooner if performance changes. |
| Whenever symptoms appear | Investigate odors, dirty dishes, unusual water retention, or leaks instead of waiting for the calendar. |
Bosch’s general cleaning guidance also covers seals, filters, and spray arms. Keep your model’s care instructions with your kitchen appliance maintenance routine.
Frequently asked questions
Can I clean the dishwasher without removing the filter?
Yes, if its filtration system is designed to be maintenance-free. For a removable filter, a cleaning cycle does not replace rinsing trapped food from the screen. Identify the system before attempting removal.
Should the dishwasher be empty when I clean it?
Empty it for hands-on cleaning. For a machine-cleaning product, follow the label: empty-machine and loaded-machine instructions are not interchangeable.
Can I use vinegar every month?
Do not assume that is safe. Some interiors are incompatible, and repeated acid exposure can damage parts. Use your model’s approved method and frequency.
Why are dishes still dirty after cleaning?
Check loading, spray-arm clearance, filter seating, detergent, and rinse-aid settings. If those checks do not help, consult the manual’s troubleshooting section or arrange service.
Editorial note: This guide summarizes the linked manufacturer guidance for routine household maintenance. It does not replace model-specific instructions. Images are AI-generated illustrations, not evidence of hands-on product testing.
Kitchen conditions and products vary. Follow manufacturer guidance and consult a qualified professional when safety or specialist work is involved.